In September 1858, the French ship Saint Paul was wrecked off Rossel Island, east of mainland New Guinea, with as many as 370 people on board. Of those, fewer than a dozen escaped with their lives. One of those was Narcisse Pelletier, who made it to Cape York, where he lived with the Uutaalnganu people for the next 17 years. His story is told in the next chapter. All the rest were massacred while they waited to be rescued.
The Saint Paul was a French merchant ship of 620 tons under the command of Captain Emmanuel Pinard. In July 1858, she set sail from Hong Kong with an estimated 350 Chinese passengers bound for Sydney to try their luck on the New South Wales goldfields.
The ship made slow progress from the outset due to adverse weather conditions. By the time she was somewhere north of New Guinea, the captain was concerned they would run out of food before reaching port. Rather than stick to the regular shipping route, east of the Solomon Islands, Captain Pinard chose to shorten his voyage and save time by sailing through the risky reef-strewn waters between the Solomons and New Guinea.
Unfortunately, the gamble did not pay off. They were plagued by more bad weather, and thick mists enveloped the ship, barring Pinard from making any solar observations so he might accurately plot his position. The captain was sailing blind as he tried to thread his way through the treacherous Louisaide Archipelago when disaster finally struck.

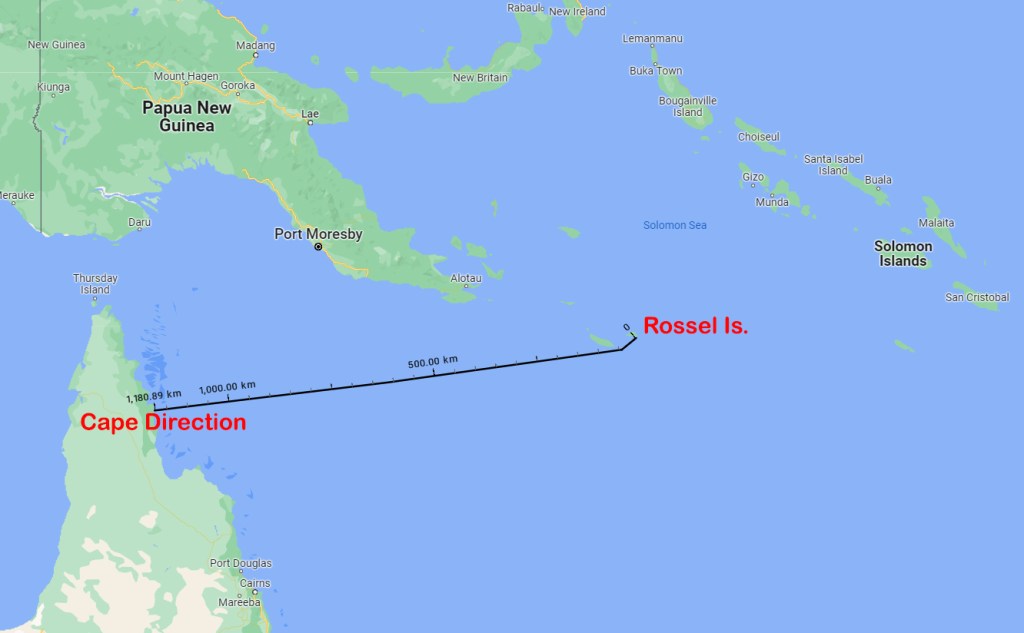
On the night of 10/11 September, the Saint Paul struck a reef off Rossel Island on the eastern edge of the archipelago. The ship was beyond saving, so the next morning, the passengers were ferried ashore with what stores and provisions could be salvaged.
They set up camp on a small rocky island about two or three kilometres off Rossel Island. A couple of days later, Pinard sent his first mate with half his crew across to Rossel to look for water. Islanders attacked the water party, and several of Pinard’s men were killed. The rest returned empty-handed.
Pinard would later report that he then took the longboat crewed by most of the surviving seamen and set off for the Australian mainland to find help. He also claimed that he had only done so after consulting with his Chinese passengers and receiving their approval. Leaving behind most of the food, firearms and the second boat, he and his men set off. Years later, the cabin boy Narcisse Pelletier would contradict his captain’s statement, claiming they had fled in the dead of night, leaving the Chinese passengers to their fate.
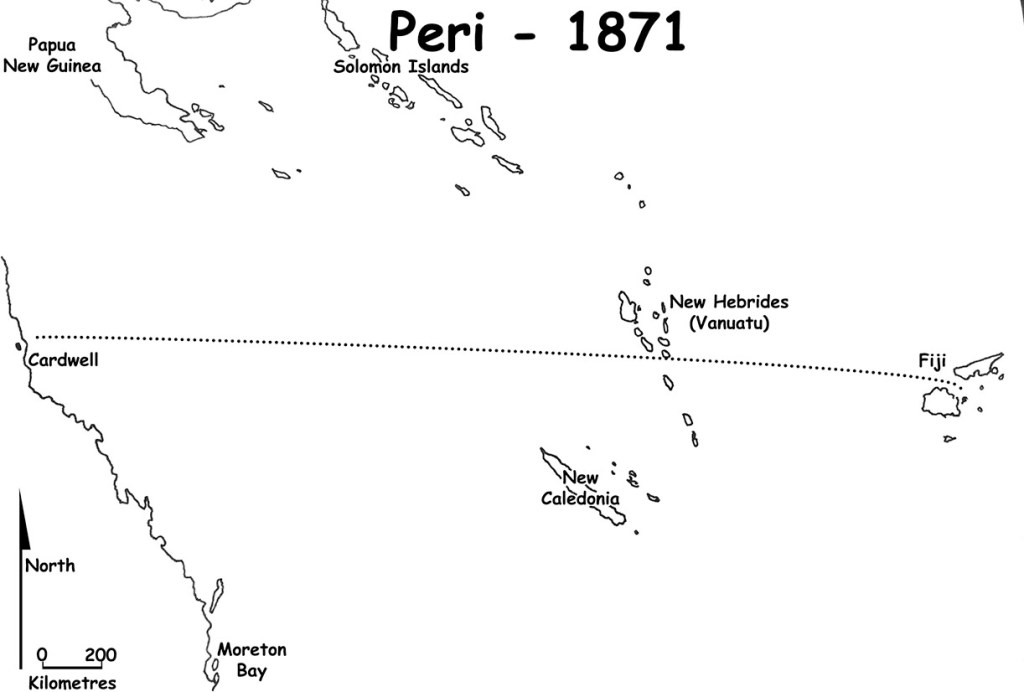
Pinard and his crew, including Pelletier, landed near Cape Direction after a nearly two-week passage. There, they received food and water from the local Uutaalnganu people before putting back out to sea in their boat. However, when they left, Pelletier was not with them. For some reason, he had been deliberately left behind.

Meanwhile, Captain Pinard and the Saint Paul’s crew were found by Captain McKellar of the schooner Prince of Denmark. He agreed to take them to the French settlement on New Caledonia, but he could only do so after he first delivered provisions to a party of beche-de-mer fishermen camped on a remote island. By now, the Chinese had been marooned for over a month, and it would be mid-December before the Prince of Denmark reached Port-de-France (Noumea).
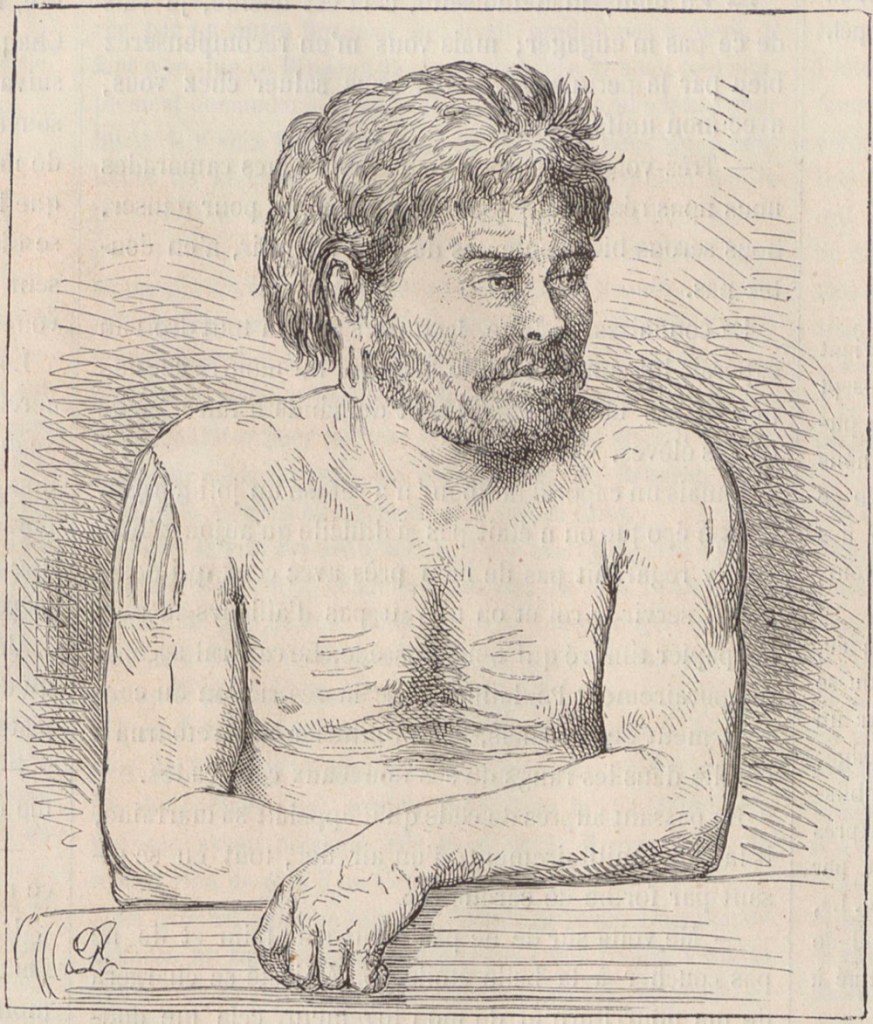
When Pinard finally reported the loss of his ship, the French immediately dispatched a warship to rescue the stranded passengers. The Styx reached Rossel Island on 5 January 1859, but when Lieutenant Grenoult and his men went ashore, they made a shocking discovery. Of the 350 or so people left on the island, they found only one survivor. Through sign language, he seemed to convey to Grenoult that everyone else had been massacred. Still, the shocking details would only come to light after they arrived in Sydney a few weeks later, and an interpreter could translate his story. What follows is drawn from the survivor’s own words and Lt. Grenoult’s official report.
For a little while, the Islanders left the Saint Paul survivors alone. Then some of the Chinese ventured across to Rossel Island in the Saint Paul’s boat, and they were never seen again. A few days later, several Islanders paddled over to the castaways’ camp, offering food to anyone who returned to Rossel Island with them. When they also failed to return, the Chinese grew suspicious, and no amount of encouragement would compel them to leave their island despite their growing hunger.

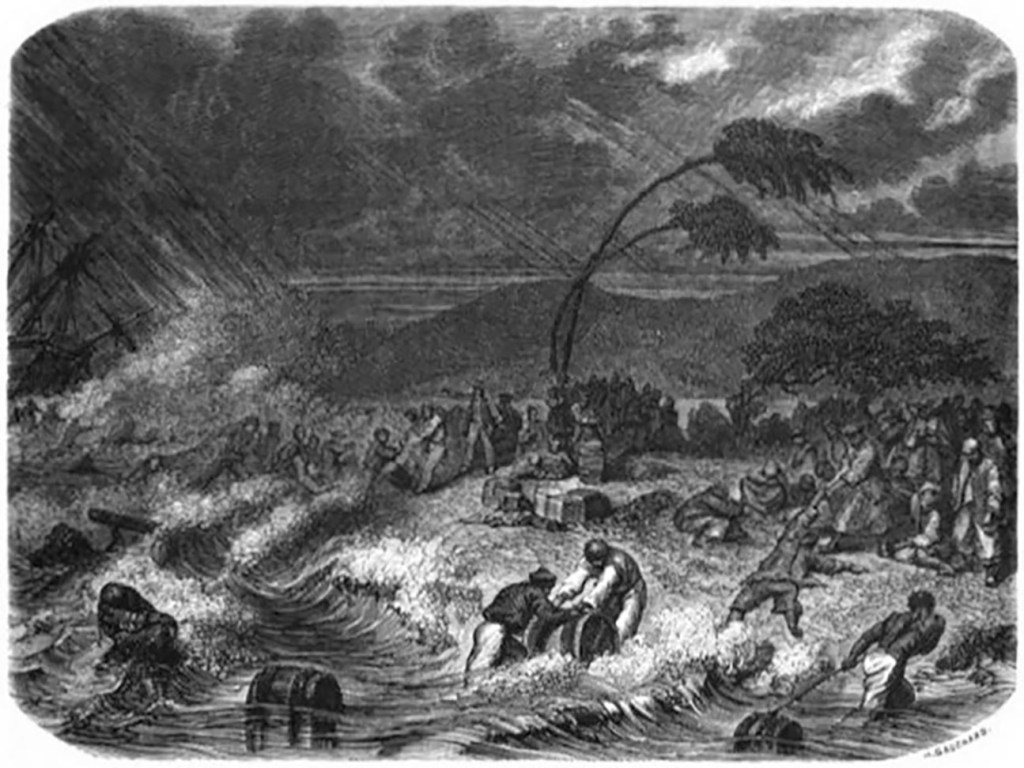
Then, after the Chinese had been stranded for about a month and were in a feebly weak state, the Islanders descended on them in large numbers. Some of the castaways put up a fight, but they were easily overpowered. The camp was ransacked, and the Chinese were forced into canoes and taken to Rossel Island. The castaways would soon learn the grisly truth about what had become of those previously missing men.
The Saint Paul survivors were corralled in a large clearing and carefully watched. Over the next several weeks, a few men at a time were separated from their comrades, beaten to death, butchered, and their flesh cooked over a fire. This horrific spectacle was apparently played out in full view of the dwindling number of survivors.
By the time the Styx steamed into view, just half a dozen Saint Paul survivors were still alive. On seeing the French warship, the Islanders fled into the mountainous interior, taking with them four Chinese and a European sailor. Only the single man was left behind because he had been too weak to bother with. He had hidden among some rocks until the Styx’s boats landed and the French sailors stepped ashore.
Lt Grenoult and his men spent three days on Rossel Island trying to find the others, but without success. The Styx then delivered Captain Pinard, his men, and the young Chinese passenger to Sydney.

© Copyright C.J. Ison / Tales from the Quarterdeck, 2023.
To be notified of future blogs, please enter your email address below.