In the 19th Century, the ship’s captain often considered himself the undisputed master of his vessel, especially when they were at sea. Most, to varying degrees, kept a rein on their power, while others ruled with an iron fist. Then there were those tyrannical few, like Neil Peter Sorensen, who went completely rogue. And, out among the South Pacific islands where the Royal Navy only sporadically patrolled, there were few restraints on those bent on causing trouble.
In August 1885, a portion of the crew from the schooner Douro put ashore in Cooktown with a harrowing tale of kidnapping and piracy. The culprit, they said, was their own former captain. The Douro’s first mate, Otto Ashe, and two other seamen told authorities that Captain Sorensen was out of control and terrorising communities in the Solomon Islands. They had grown so concerned with Sorensen’s behaviour that they preferred to risk being charged with deserting their ship than to be implicated in their captain’s depredations.
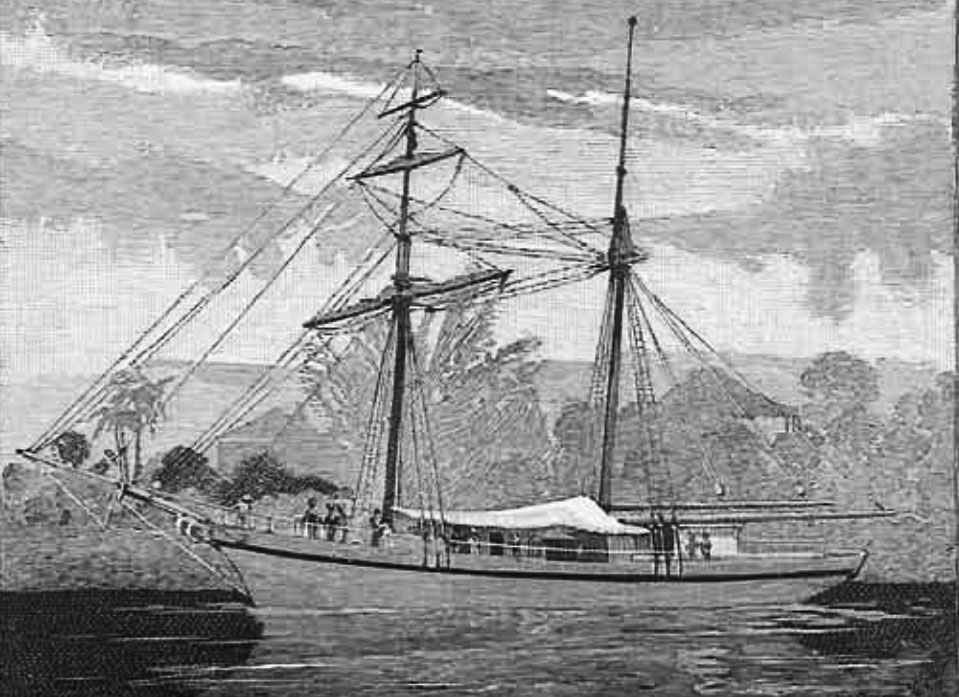
As he and the others had only joined the Douro in Sydney four months earlier, they had no idea what they were signing on for. Until recently, the Douro had been registered as a British vessel named the Albert, and as such, had been subject to British laws. The ship’s owner registered her as a Portuguese-flagged ship at that country’s Sydney Consulate. They claimed they had done so to save their ship from being seized in the event of war breaking out between Britain and Russia, a genuine concern at the time. In reality, the change in registration and name had more to do with placing the ship and its captain outside the bounds of the British legal system. Sorensen was installed as the Douro’s new captain. He was formerly the Albert’s first mate and was no stranger to the South Pacific or operating outside the law. But this would be his first taste of command.
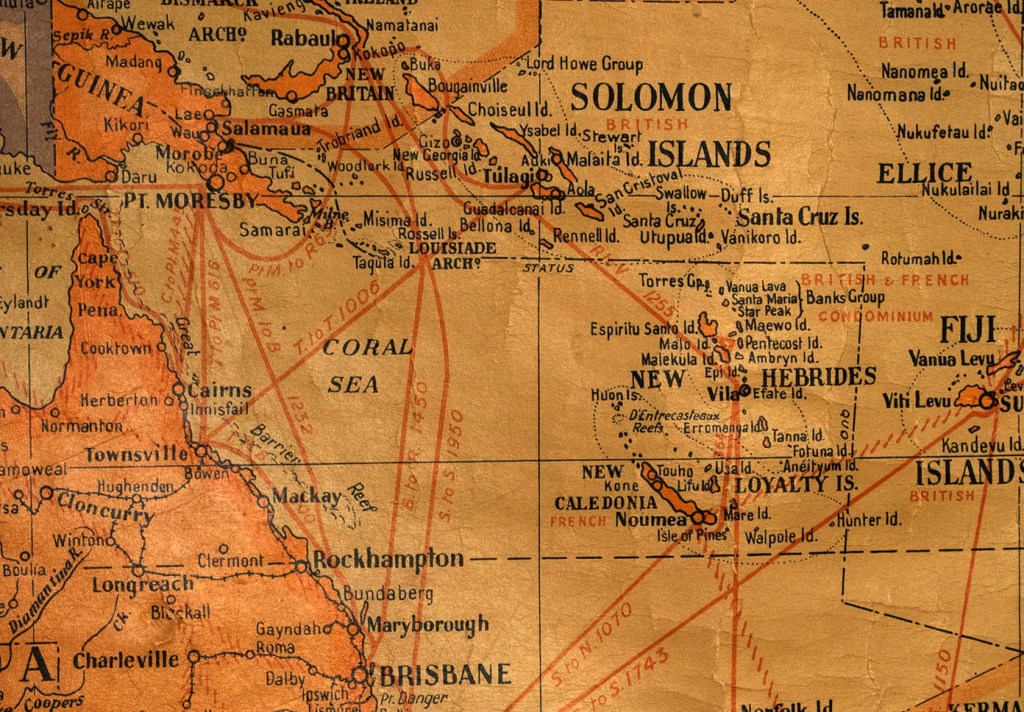
The Douro sailed from Sydney in late April, on a fishing venture around the Solomon Islands. Pearl shell and beche-de-mere both commanded high prices in Sydney, but Sorensen needed to hire local divers. Sorensen landed at a village on San Cristobal Island for recruits, but the village chiefs remembered him from a previous visit. Sorensen had promised to return the men at the end of his last fishing trip, but he never did. Now, no one trusted him.
Sorensen was forced to go further afield to find his much-needed divers and fishermen. The Douro stopped at a couple of other islands and was able to recruit men on the promise that they would be gone from their villages for only four or five months. This was a lie, for Sorensen expected to be away for at least a year and probably longer.
As time passed, the situation on the Douro became intolerable for the crew. Otto Ashe claimed that Sorensen relentlessly bullied and threatened his men. While anchored off Guadalcanal, he beat the schooner’s cook senseless over some perceived infraction of his rules. None of the crew was prepared to stand up to him, for Sorensen was always heavily armed. But as bad as the treatment of his white crew was, it was nothing compared to how he treated most of the Solomon Islanders.

At Isobel Island, he had two chiefs forcibly brought out to the schooner and only released them in exchange for six recruits. Off Wagina Island, the Douro came across a chief and several of his men out fishing in their canoes. He welcomed them aboard and then invited the chief to dinner in his cabin. Sorensen clapped the chief in irons and kept him hostage. He then went back on deck armed with a rifle and ordered the rest of the Islanders to leave. Sorensen only released the village chief after his people had handed over 4000 beche-de-mer, 24 sea turtles, a pig and three “boys,” whom he would exploit as unpaid labour.
On one of the Carteret Islands, he took his plundering to a new level. Sorensen kidnapped four girls and brought them back to the schooner for the men’s entertainment. He then went ashore, armed to the teeth, at the head of a band of Solomon Islanders who had no qualms about following his orders. Sorensen forced the local chief to sign over possession of the island to him. Sorensen and his men then went from hut to hut, gathering up all the weapons. The haul included an assortment of traditional spears, clubs, and tomahawks, as well as an old Snider rifle and two shotguns. After everyone had been disarmed, he forced the menfolk to collect pearl shell and beche-de-mer on his behalf.
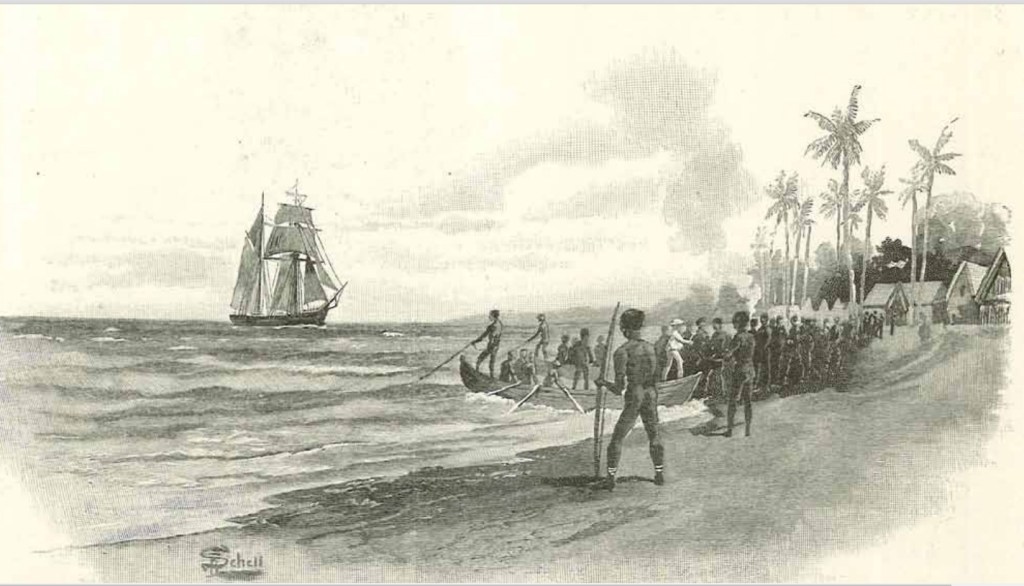
By now, the first mate had seen enough and wanted no part of it. Fearing that Sorensen would continue his reign of terror through the islands, he took the first opportunity to escape. On 23 June, he took off in the schooner’s longboat with two other white seamen and seven Solomon Islanders. They landed in New Britain and reported Sorensen’s crimes to the German Consul there. They then set off in the boat for Australia, eventually landing at Cooktown, where they told the Queensland authorities the same story.
When the Douro finally sailed into Brisbane in March the following year, the police were waiting. The schooner was seized, and Sorensen was charged with assault and robbery and placed under arrest. He was also charged with sodomy, but that was later dropped because the principal witness was “now in a lunatic asylum,” as the Brisbane Courier reported it at the time. Sorensen denied all the allegations, but a jury found him guilty, and he was sent to prison for ten years. While this episode was particularly heinous, it is a sad indictment that the conviction and hefty sentence were unusual for the times.

© Copyright C.J. Ison / Tales from the Quarterdeck, 2022.
1 Brisbane Courier, 25 Mar 1886, p.6.
To be notified of future blog posts, please enter your email address below.