One of the great maritime mysteries of the late 18th and early 19th centuries was the disappearance of the French ships La Astrolabe and La Boussole under the command of La Perouse. They were last sighted leaving Botany Bay in 1788 but it would be another 40 years before the world discovered what became of them.
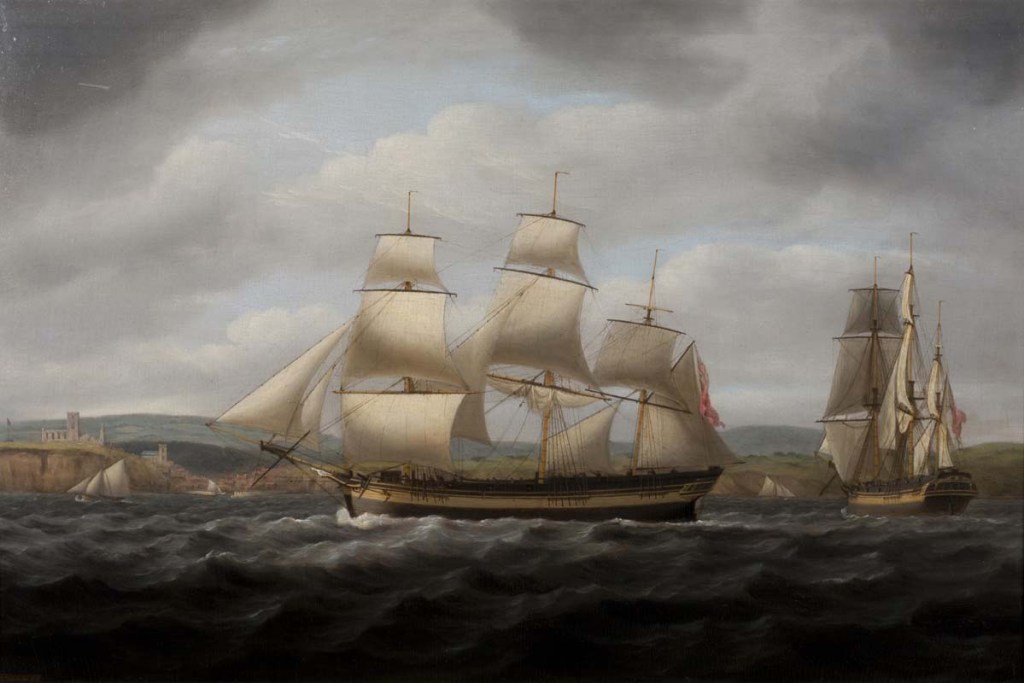
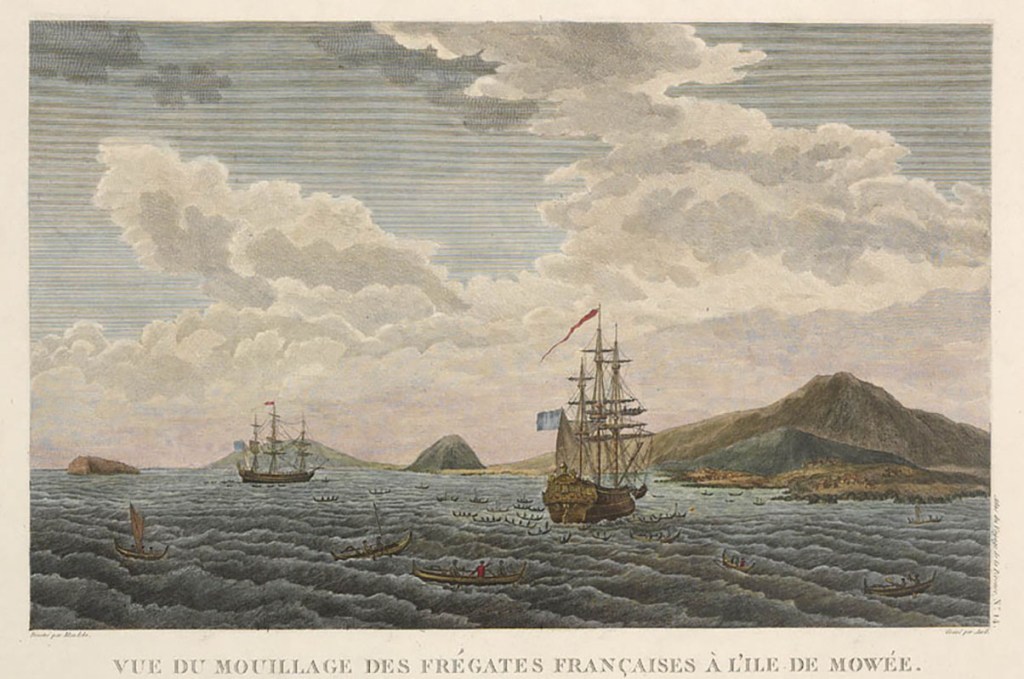
In 1785, Louis XVI appointed Jean-François Comte de La Perouse to lead an expedition of discovery to the far reaches of the world. The objectives were primarily scientific, but La Perouse was also to look out for economic opportunities that might benefit France. He was given two ships, La Astrolabe and La Boussole, with a total complement of some 220 men. The expedition included a botanist, geologist, physicist, astronomer, and several naturalists and illustrators – ten men of science in all. Even the ships’ two chaplains had received scientific training. Rarely had such a body of learned men been assembled for such a voyage.

The La Astrolabe and La Boussole sailed from Brest on 1 August 1785 and bore south into the Atlantic Ocean to round Cape Horn. They stopped briefly in Chile and then proceeded to the Sandwich Islands (now known as Hawaii). From there, they continued north as far as Alaska and then traced the North American coast south to a point that is now Monterey in California. La Perouse then took his two ships across the Pacific Ocean to the Portuguese colony of Macau and then headed north again. They arrived at the Russian outpost of Petropavlovsk on the Kamchatka Peninsula in September 1787 to find fresh orders awaiting them. The French Court was aware that the British had assembled a fleet of ships to sail for New South Wales. La Perouse was instructed to make directly for Botany Bay to investigate the new settlement being established there.
La Perouse arrived at Botany Bay on 24 January 1788, only days after the First Fleet under Governor Phillip had arrived from England. The French mariners spent six weeks there, resting and replenishing their food and water supplies. Before sailing, La Perouse left a package of letters, journals and charts with the captain of a returning British convict transport to be forwarded to Paris. In his correspondence, La Perouse wrote that he intended to sail to New Caledonia and the Santa Cruz Islands before turning back for home. They had been gone for two and a half years when they sailed from Botany Bay. He also anticipated that they would be back in France by June the following year. On 10 March 1788, the two French ships set sail and were never seen again, at least not by any Europeans.
Then, in 1826, an Irish mariner, Peter Dillon, made a startling discovery. While at Vanikoro, he came into possession of some artifacts clearly of French origin. He learned that relics from the French ships had been circulating among the inhabitants of Santa Cruz and neighbouring islands for years. On inquiring about the origin of the pieces, he was told that they had come from two large ships that had been wrecked there many years earlier.
Dillon was sure the artifacts, one of which was a sword guard of French design, had come from La Perouse’s expedition. Upon returning to India, he reported his discoveries to the East India Company, which provided him with a ship to explore the waters around Vanikoro more closely.
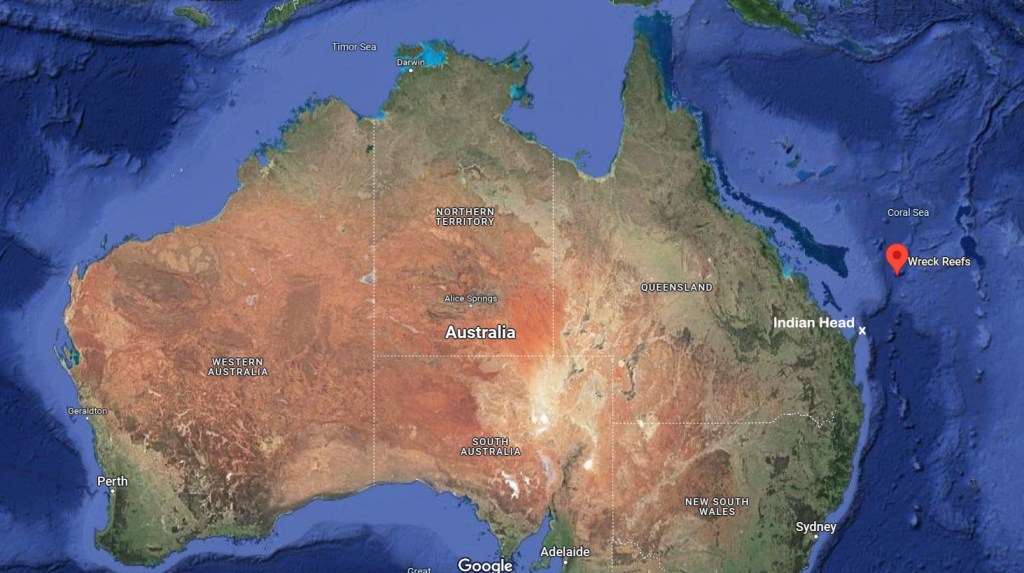
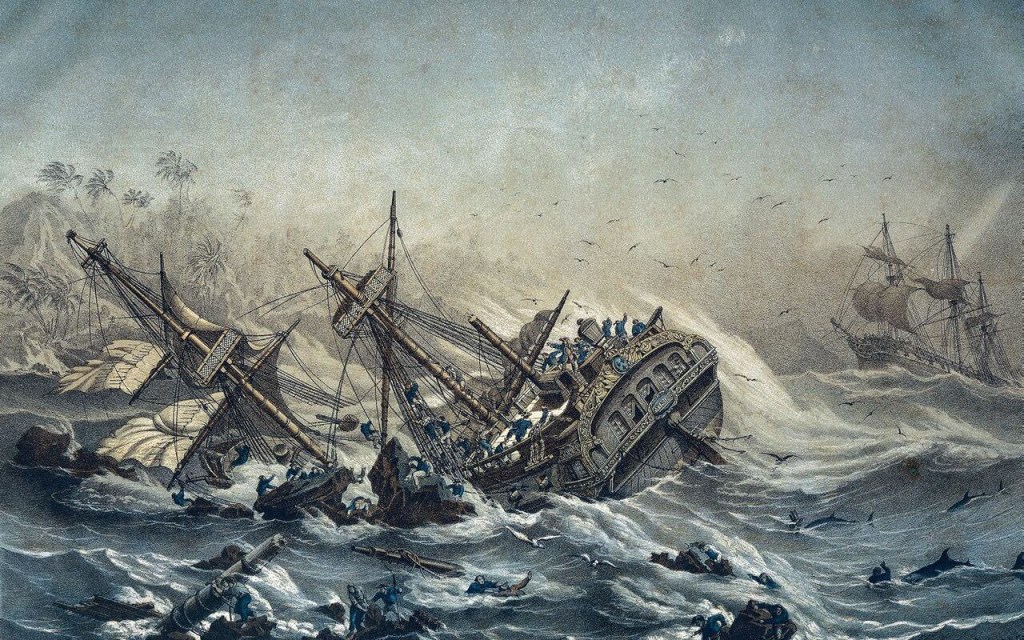
In 1827, Dillon found the wreck site and retrieved several artefacts, including a bell which had clearly belonged to a French ship. He also learned from the older villagers on Vanikoro that the two French ships had run aground on a coral reef during a violent storm with great loss of life. The survivors had built a new vessel from timbers salvaged from the wrecks and sailed away. They had probably tried making for Kupang in the Dutch East Indies (Indonesia). That would have been the closest port where they might find help and passage back home. It would, however, require them to cross the Great Barrier Reef and pass through Torres Strait. Most of the French seamen left in the new ship, but a few men opted to remain on Vanikoro, where they lived out their days. By the time Dillon visited the island, they had all since passed away.

There is a final clue as to what may have happened to La Perouse’s men who sailed away from Vanikoro. An Indian seaman had been found living among the inhabitants of Murray Island (Mer) in 1818. His name was Shaik Jumaul, a seaman on the Morning Star, which had been wrecked in Torres Strait four years earlier, while on a voyage from Sydney to Batavia.
He said that he had come across many items of European manufacture, including muskets, cutlasses, a compass, and even a gold watch, while visiting nearby islands. When he asked where they had come from, he was told that about 30 years earlier, a large ship had been wrecked near Murray Island. Several boatloads of men came ashore, but a fight ensued, and most were killed. Some fled to other islands where they met the same fate. The only survivor was a young boy. He lived among the Islanders for many years and rose to be held in high esteem in his adopted community.

More recently, ANU academic Dr Garrick Hitchcock came across the original newspaper article published in the Madras Courier in 1818. Jumaul’s story was later republished in the Sydney Gazette in July 1819. The Sydney Gazette article even speculated that the ship might have been one of La Perouse’s, but it appears that possibility was never seriously followed up.
Hitchcock thinks the vessel might have been the one constructed from salvage on Vanikoro. The timing certainly fits. After some detective work, Hitchcock discovered that a boy named Francois Mordelle had accompanied the expedition, and it was possible that he was the one who had lived among the Torres Strait Islanders for all those years.
© Copyright C.J. Ison / Tales from the Quarterdeck, 2022.
To be notified of future blogs, please enter your email address below.