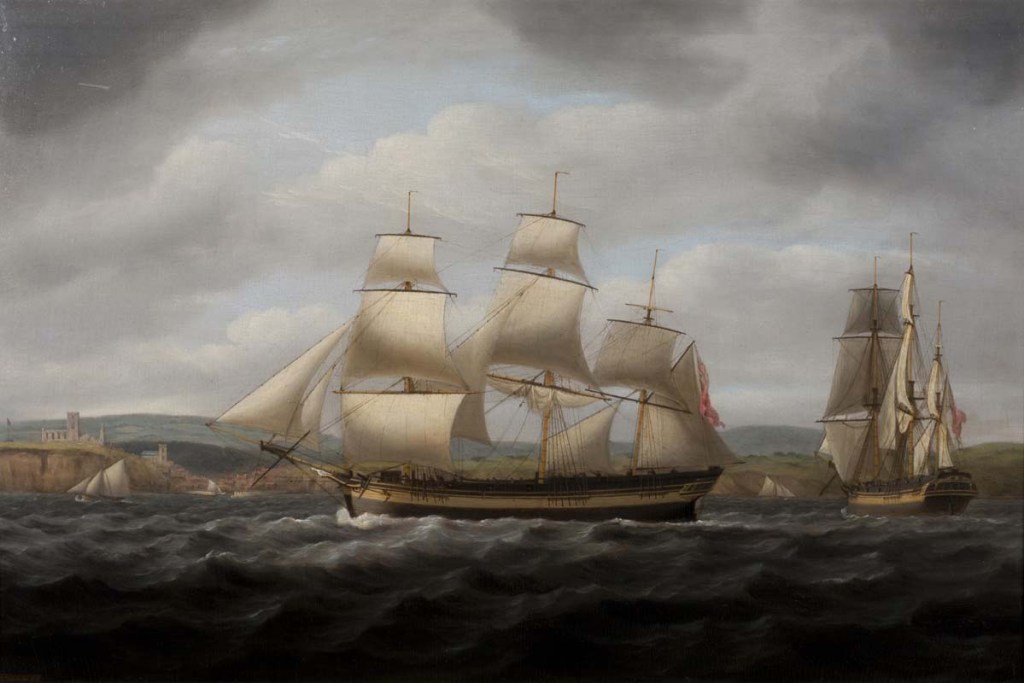
On 28 April 1789, Lt William Bligh was startled awake by his first mate, Fletcher Christian, and several other HMS Bounty sailors threatening his life. He, along with 18 members of his crew who wanted nothing to do with the unfolding mutiny, would soon be unceremoniously herded into a launch and set adrift. So began one of the great open-boat voyages in maritime history.
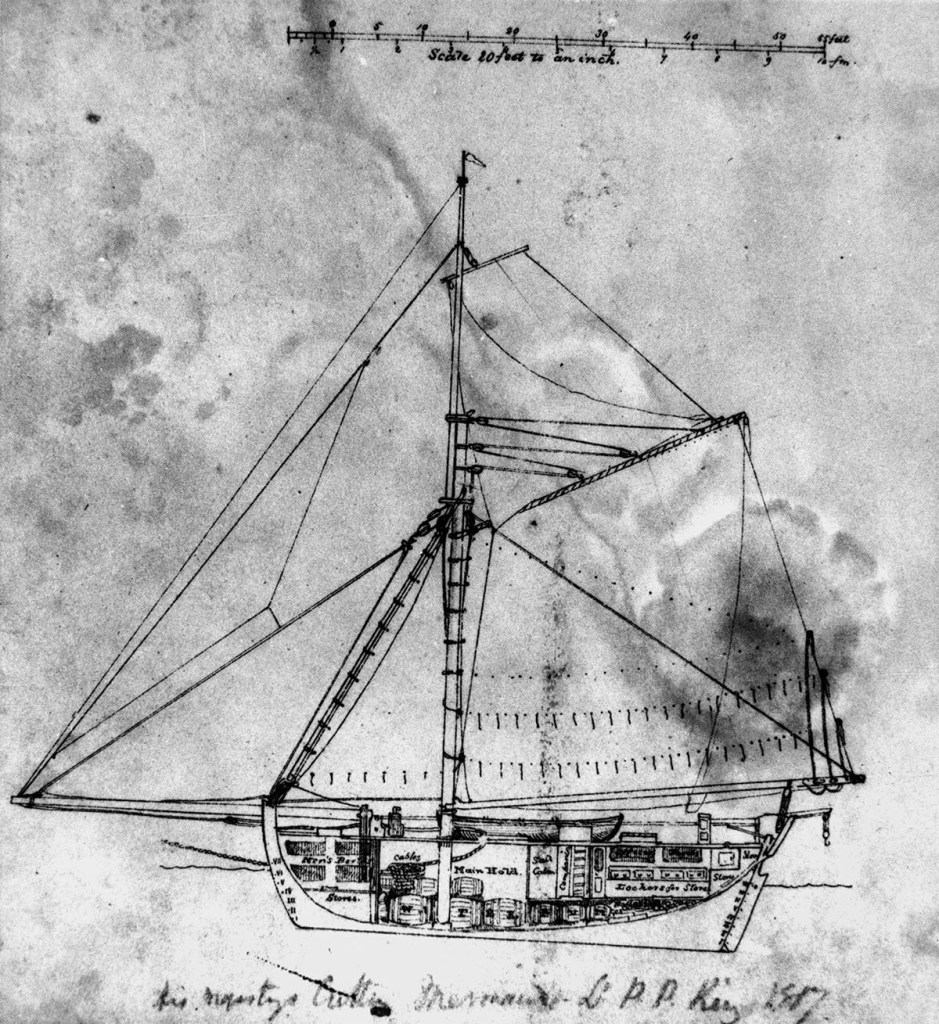
To say the launch was overcrowded is an understatement. Measuring 23 feet (7 metres) in length, there was room for just half those on board. But, in addition to Bligh and his men, space had to be made for their provisions.
The mutineers allowed them 70 kg of sea biscuits, 10 kg of salted pork, seven litres of rum, six bottles of wine, and 130 litres of water. For navigation, they were provided with only a quadrant and a compass. Fletcher Christian would not allow them to take a chronometer or any of the charts. A few clothes were thrown into the launch at the last moment, as well as four cutlasses for personal protection should they be foolish enough to venture onto any of the neighbouring islands. Lastly, the carpenter was allowed to take his toolbox, and the ship’s clerk had collected some of Bligh’s papers and belongings, including the captain’s nautical almanac. With the launch so heavily weighed down, it was in imminent danger of being swamped.
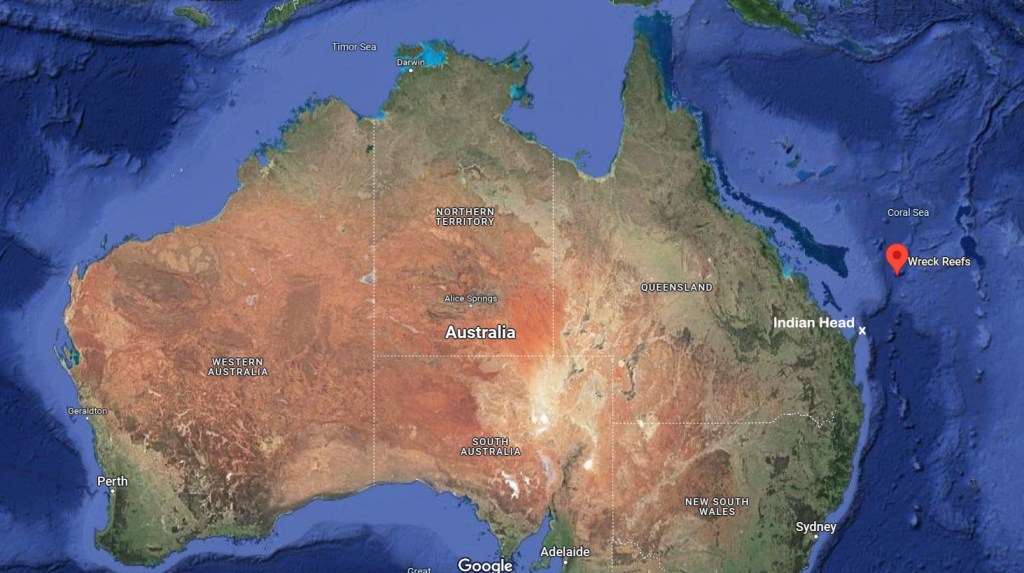
As the Bounty sailed away, Bligh and the others found themselves adrift in the South Pacific Ocean, a very long way from the nearest European settlements. With no viable alternatives, Bligh convinced his men that they should make for the Dutch settlement of Kupang on Timor Island, some 3,500nm (7,000 km) away. But before they could set off on the long voyage, Blight felt they needed to add to their stores. At first glance, the provisions might seem bountiful, but shared among so many people, they would last little more than a week without strict rationing.
Bligh made for the nearest land, Tofua Island, about 50 km away, to stock up on fresh produce. Initially, the Islanders seemed friendly and happy to trade. But after a couple of days, the mood inexplicably changed. Bligh and his men suddenly found themselves fleeing for their lives under a hail of hurled rocks. One man was felled on the beach, but the rest managed to get away in the launch.
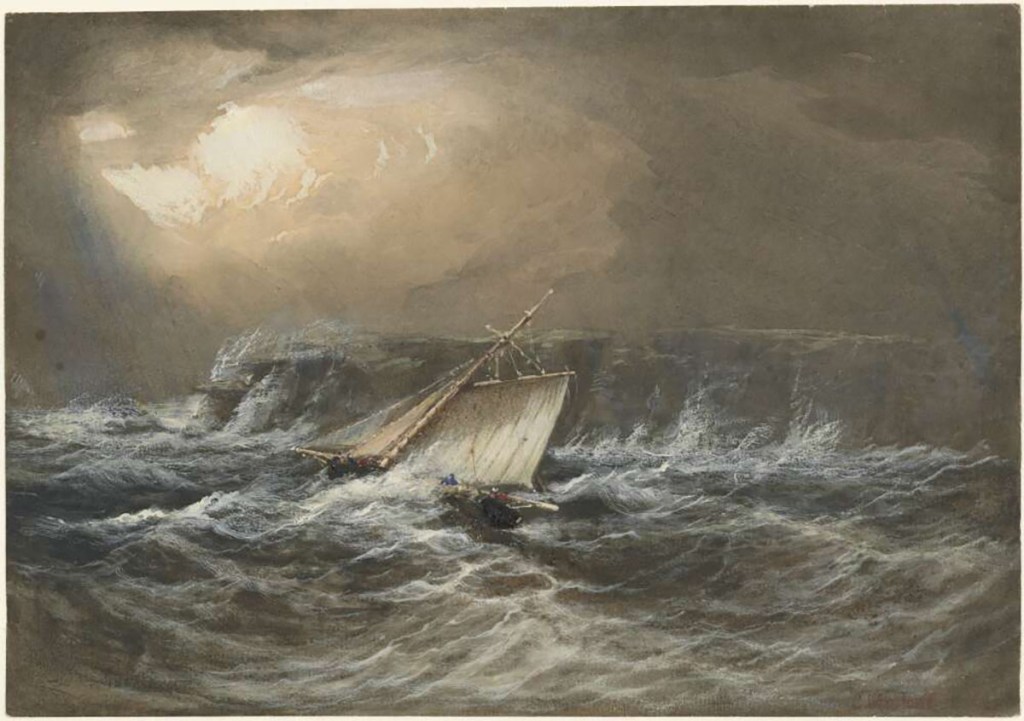
But the assault continued. Rocks still rained down among them, thrown by islanders who pursued them in a canoe. Reprieve only came when the launch finally outdistanced the attackers. Bligh noted in his journal that almost all of them had been injured to some extent from the barrage of stones. But they had escaped, though at the cost of one life. Bligh then set a course west through the South Pacific Islands towards New Holland (Australia). He decided that they would not risk stopping anywhere else along the way.

Sacrifices had to be made if they were ever to make it to Timor. Spare clothes, ropes and anything else not essential were tossed overboard to lighten the load and make more room. Even so, conditions remained so cramped in the boat that no one had room to stretch out their legs. Those not seated on the thwarts had to find room where they could, often on the floor with their backsides in a few inches of water. The carpenter’s chest was emptied of tools so it could be filled with sea biscuits to keep them out of the water sloshing around in the bottom of the boat.
Bligh organised the men into two watches as they sailed west-north-west towards the Fijian Islands and beyond. Beginning on 4 May, they were battered by a powerful storm with gale-force winds and high seas. Water poured into the boat, forcing the men to bail continuously to keep afloat. The storm raged until the following evening, when the weather eased off for a short while.
Over the next several days and weeks, they passed through the Fijian Islands and then the islands of Vanuatu as they steadily made their way west. The nights were brutally cold, but there was little let-up in the weather, and they remained soaked to the skin for days on end. The only reprieve from their misery came in the form of a small daily ration of rum.
Even though Bligh had no chart, he was able to compare his observations, when he could make them, with known landmarks recorded in his almanac. Though they passed close to several islands, there was no appetite to go ashore for food despite their growing hunger. Their experience on Tofua was still fresh in their minds.

They began bearing more westerly as they crossed the Coral Sea and weathered several more powerful squalls. Mountainous seas and torrential rain again kept them bailing as hard as they could to remain afloat.
Then, on 24 May, they were bathed in full sunshine for the first time in nearly two weeks. Over the following few days, they caught several seabirds. The precious little meat was shared out evenly and eagerly eaten raw. The birds also offered hope of another sort, for they signalled that they were approaching the Australian mainland.
On 28 May, they reached the outer edge of the Great Barrier Reef, clearly delineated by a line of breaking white surf. Bligh pointed the bow towards a gap in the reef, and everyone hung on as they raced through the narrow passage. Once through the coral jaws, they found themselves in calm water in the vicinity of Cape Melville. Bligh then bore north, remaining close to the inside of the reef in hopes that they might catch some fish to supplement their diet.
A couple of days later, they stepped ashore on what Bligh would name Restitution Island. After being confined to the boat for so long, they were all barely able to walk. Nonetheless, a fire was started using Bligh’s magnifying glass to focus the sun’s rays, and a stew of sea biscuit and salted pork was augmented by some berries, oysters and other shellfish foraged from their surroundings.
After several days recuperating, they reboarded the boat and island-hopped north until they reached Torres Strait. They then headed west again across open seas until Bligh estimated they were off the southern coast of Timor Island. On 14 June 1789, they sailed into Kupang Harbour, 47 days after the Bounty mutineers cast them adrift. Bligh noted that they were “nothing but skin and bones; our limbs were full of sores; [and] we were clothed in rags.” But they had survived a voyage few would have thought possible.
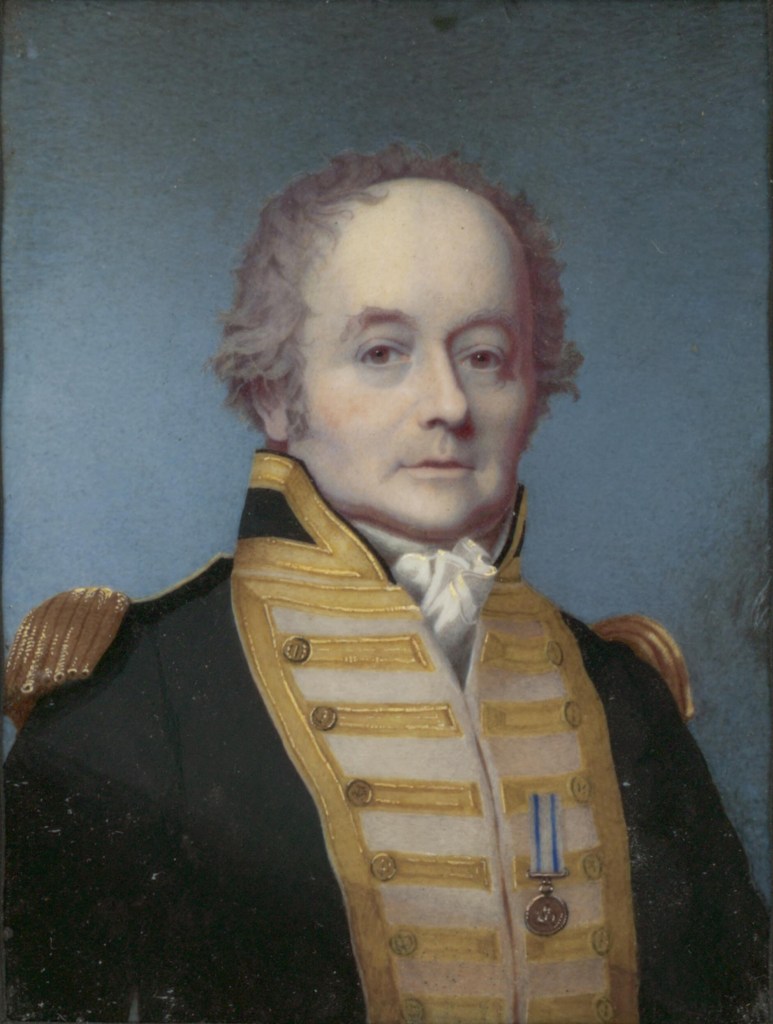
The Dutch authorities tended to the survivors and arranged passage back to England; however, five would never see home, dying in their weakened state, probably from malaria, a disease not well understood at the time. Bligh arrived back in the United Kingdom in March 1790, not to a hero’s welcome but to face a court-martial to explain the loss of his ship. The Court exonerated him and the incident had no noticeable impact on his career. Bligh eventually rose to the rank of Vice Admiral before retiring. He also served a tumultuous two years as the Governor of New South Wales until officers of the NSW Corps deposed him, but that’s a story for another occasion.

© Copyright C.J. Ison / Tales from the Quarterdeck, 2023.
To be notified of future blogs, please enter your email address below.