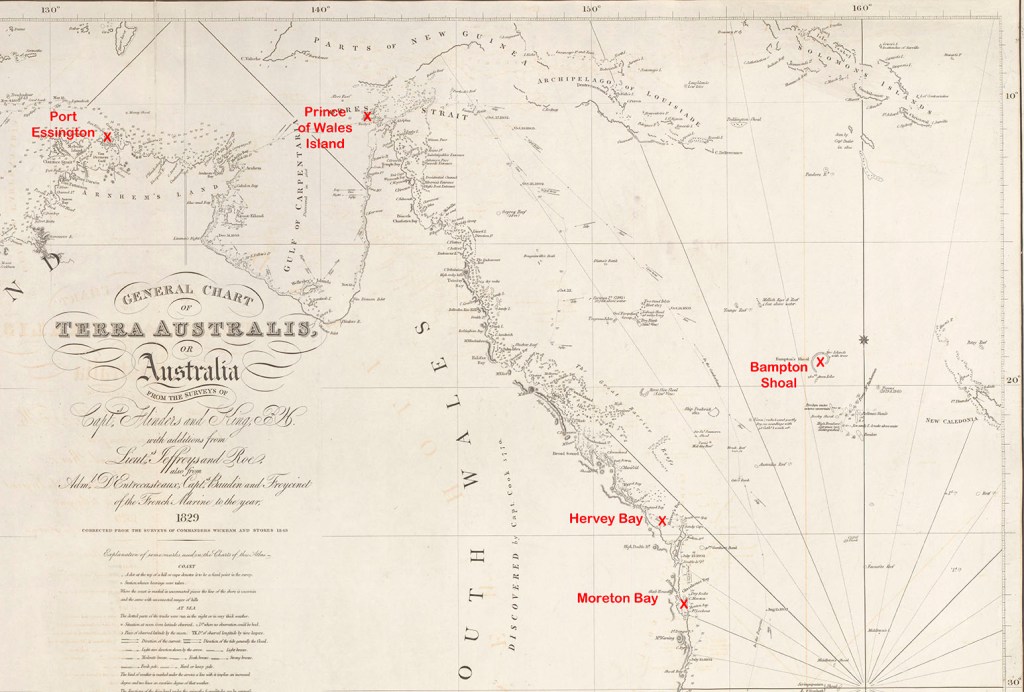
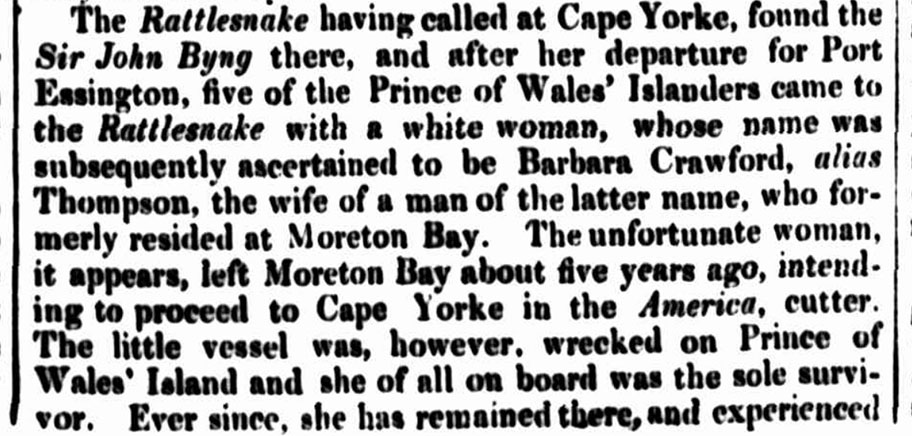
In 1845, a small cutter quietly slipped out of Moreton Bay, supposedly bound 300 km up the coast to salvage whatever they could from a ship reported to have been wrecked in that vicinity. The three-ton vessel and her crew were never heard of again, at least not for nearly five years. Then, in late 1849, sailors from HMS Rattlesnake were ashore near the tip of Cape York when they were approached by a white woman seeking their protection. In halting English, she claimed to be Barbara Thompson, the only survivor from the missing cutter. This is her remarkable story.
Born in Aberdeen in the late 1820s. Barbara Crawford arrived in New South Wales with her parents as free settlers on the convict transport John Barry. Her father, a tinsmith by trade, had left Scotland to start a new life for himself and his children in Sydney. By 1845, Barbara had left the family home in Pyrmont, married a man named William Thompson and was living in Moreton Bay.
Around the middle of 1845, it seems William Thompson thought he had found an easy way to make some money. He had learned that a ship filled with whale oil had run aground on Bampton Shoals, over 1,000 km away in the vast expanse of the Coral Sea. Despite having no salvage rights to do so, he decided to search for the ship and take as many barrels of oil as his tiny vessel could carry.
A year earlier, in June 1844, the American whaler Clarence had run aground at Horseshoe Reef in the Bamptons. Unable to get his off, the captain made the difficult decision to abandon her and make for Moreton Bay in the boats. Salvage rights to the Clarence and her valuable cargo were sold at auction in Sydney to a man named Cole. He quickly dispatched the schooner Elizabeth, under the command of Captain Riley, to Bampton Shoals to make good on his investment. Purchasing the salvage rights to any wreck, sight unseen, in such a remote and dangerous part of the world, was always risky. Cole would have to wait to see if his gamble would pay off.
After Captain Riley arrived at the wreck site and carefully examined the damage to the Clarence, he was convinced he could not only retrieve the whale oil, but he could also save the ship and sail it back to Sydney. So, he loaded the Clarence’s more valuable stores onto his schooner and sailed for home with the good news. He then returned to Bampton Shoals with a couple of shipwrights and the necessary equipment to repair the whaler’s hull and refloat her. However, Riley’s luck took a turn for the worse in January 1845, when a ferocious storm swept the Elizabeth from her moorings and out to sea. Captain Riley and six of his men were now stranded, having taken shelter on the Clarence during the storm. After waiting six weeks for the Elizabeth to return, Riley accepted that his schooner had likely sunk during the storm. He had the shipwrights prepare their longboat for the hazardous open-ocean voyage to the Australian mainland by raising the freeboard and building a temporary deck. Once work was complete, they set sail for Moreton Bay with just an old hand compass to guide them. The passage would take them 37 gruelling days.
At Moreton Bay, Captain Riley sold the longboat to William Thompson, who named the three-ton cutter-rigged vessel America. By now, it was mid-1845. Thompson told people that he intended to salvage the remains of a ship Captain Riley said he had spotted aground on the northern end of Fraser Island (K’Gari). In reality, Thompson planned to sail to Bampton Shoals and fill his hold with the Clarence’s whale oil before continuing through Torres Strait and on to Port Essington with his spoils. While Thompson had bought the Elizabeth’s longboat, it’s unlikely he had also bought the salvage rights to the Clarence and her cargo. They would still have belonged to Cole.
The America set sail from Moreton Bay around August or September 1845. Joining Thompson were his young wife Barbara and four crew, one of whom was likely a man named Harris who had been on the Elizabeth and said he knew where to find the Clarence.
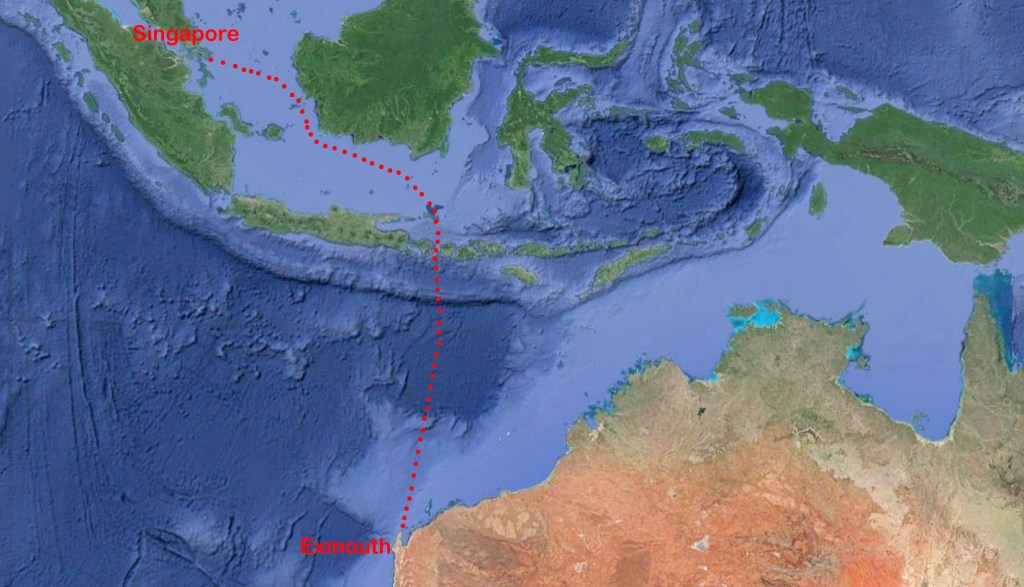
It seems to have been an unhappy vessel. They were plagued by foul weather, and according to Barbara, there was much “quarrelling on board.” Two of the crew even drowned during the voyage, though the circumstances remain a mystery. As it turned out, Harris was unable to find the Clarence or even Bampton Shoals, for that matter. With their provisions almost depleted, Thompson abandoned the search and made for Port Essington via Torres Strait. Somewhere along the way, he put Harris ashore under circumstances that are not entirely clear. Harris would spend eight months as a castaway somewhere on Cape York before being rescued by a passing ship and taken on to Hong Kong.
Meanwhile, Thompson, his wife and one remaining member of the crew cleared the tip of Cape York, but the America struck a reef off the eastern end of Prince of Wales Island (Muralag) during bad weather. Thompson and the seaman drowned when they tried to swim ashore through the surging seas. Barbara was left trapped on the cutter until she was rescued by Islanders returning from a turtle hunt after the weather had moderated.
One of her rescuers, a man named Boroto, claimed Barbara as his wife, something she had no say in. Despite this, she also later claimed she had been well-treated by the Kaurareg. Her place in the community was assured after an elder declared that Barbara was the reincarnated form of his deceased daughter, Giaom. Barbara was renamed Giaom in her honour.
Giaom, as she was now called, lived with the Kaurareg for the next four years. She learned their language, customs, and way of life. She shared their good times and bad and seems to have been well-liked. That is not to say her life was easy. Life with the Kaurareg would have been challenging for any white person of that era to adapt to. But adapt she did.
The only restriction placed on her was that she was barred from communicating with any of the scores of ships that passed through Torres Strait each year. It is quite likely that she always harboured a dream to return to her former life, and a few years later, she got her chance.
In October 1849, a friend told her that a ship had stopped near the tip of Cape York. She enlisted the help of several female friends, and they made the crossing to the mainland. She had assured them that she only wanted to meet the white men and shake their hands. Actually, she had already decided to leave the Kaurareg and hoped to do so on that ship. She figured this might be the only chance she had to make it back to Sydney to see her family again. When her husband, Boroto, was told what she was up to, he and several of his mates set off in pursuit.
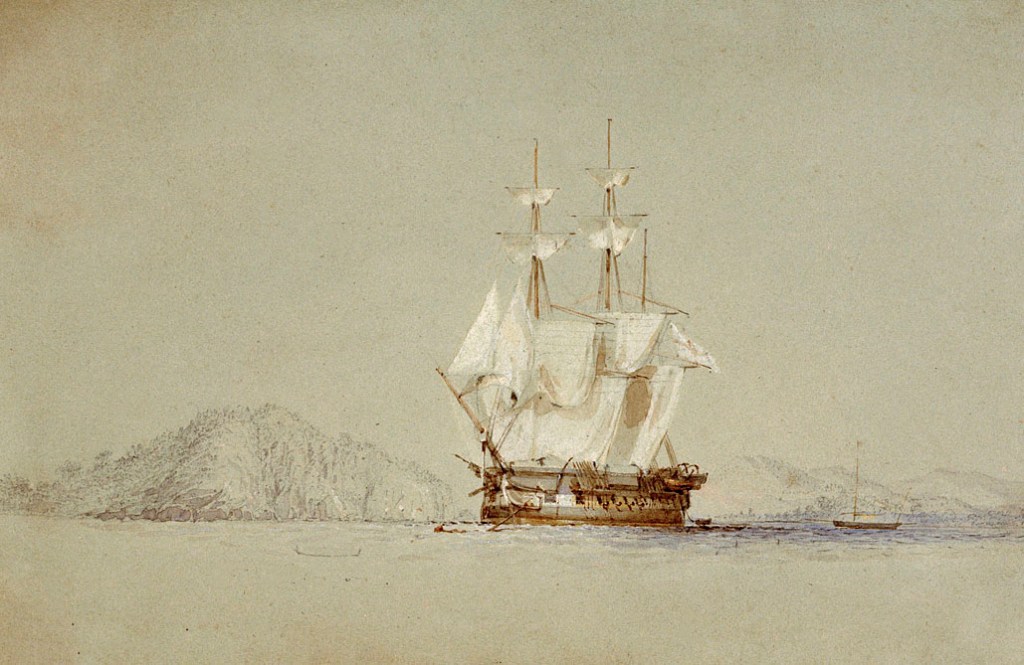
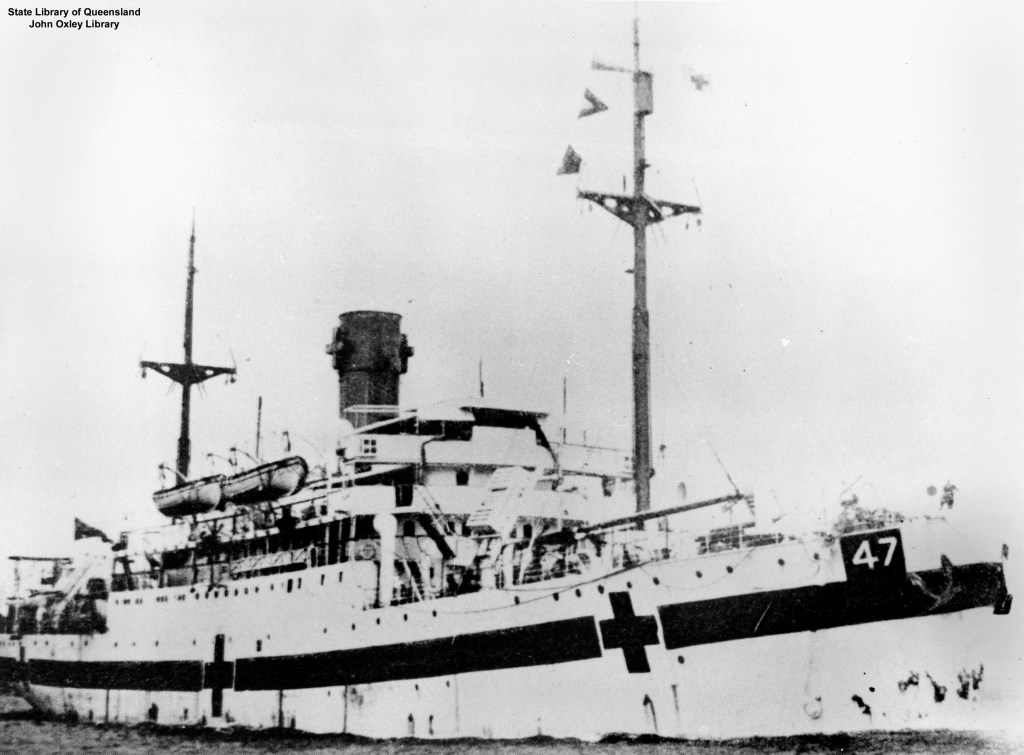
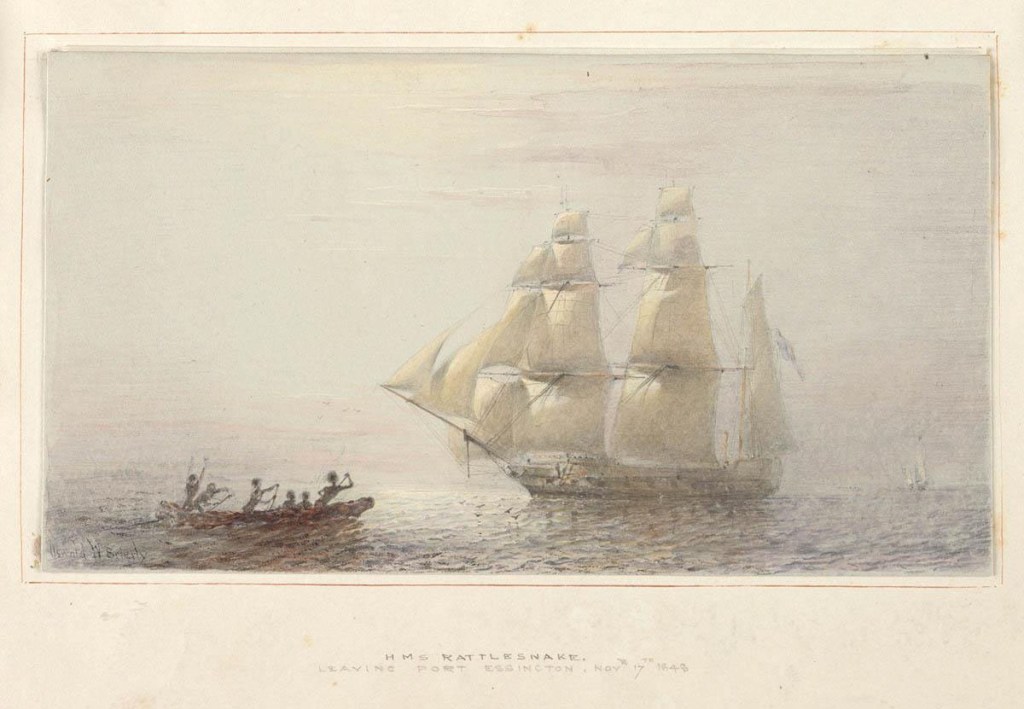
On 16 October, Barbara Thompson and her friends stumbled on a party of seamen from the British survey ship HMS Rattlesnake. Barbara was not immediately recognised as a white woman. For though naked but for a fringe of leaves strung around her waist, her skin was so deeply tanned and blistered by long exposure to the tropical sun as to make her indistinguishable from the other Aboriginal women. Barbara was reportedly “wretched in appearance,” and blind in one eye, and it was only when she spoke a few halting words that they realised she was a British subject. “I am a white woman. Why do you leave me?” she pleaded, wanting to be taken back to their ship. She was clearly awkward about her nudity in the company of white men, so the sailors gave her two shirts to cover herself and then took her back to the Rattlesnake.
It was not long before Boroto was alongside in a canoe demanding that she be returned to him. Meanwhile, Captain Owen Stanley had listened to her story and told her that the choice to stay or go was hers alone to make. She chose to remain on the Rattlesnake. Captain Stanely remained at Cape York for several more days, and during that time, many of Barbara’s friends came out to visit her. Even Boroto was allowed on board to speak with his wife. At first, he tried using soft talk and promises to convince her to change her mind and come back home. When that didn’t work, he grew furious and threatened to kill her if she did not do as she was told. Boroto finally stormed off the ship empty-handed.
While on the Rattlesnake, Barbara AKA Giaom was befriended by the Rattlesnake’s naturalist, John MacGillivray. Barbara proved to be a godsend when it came to understanding the ways of the local peoples. She added several hundred Kaurareg words and their English translations to his dictionary, and she also helped him to understand how Kaurareg grammar worked. She also freely shared her knowledge of the manners, customs, and daily life of her adopted people, giving MacGillivray insights he could never have gained on his own. MacGillivray’s account of the Rattlesnake’s expedition, Narrative of the Voyage of HMS Rattlesnake, published in 1852, is dotted with references to Giaom’s contributions on the Kaurareg people of Torres Strait.
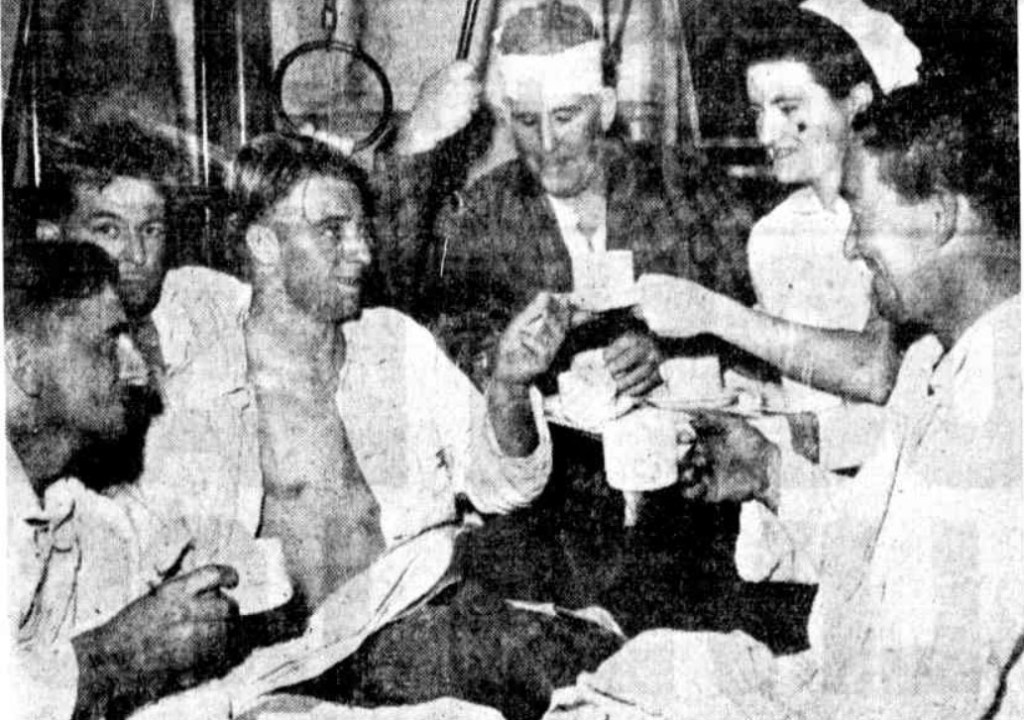
Barbara Thompson’s health improved with medical attention and a return to a Western diet. The Rattlesnake arrived back in Sydney in February 1850, where Barbara was reunited with her parents.
© Copyright C.J. Ison / Tales from the Quarterdeck, 2026.
If you would like to be notified of future blog posts, please enter your email address below.