On 12 November 1863, the 56-ton schooner Grafton sailed from Sydney on a sealing expedition among the islands of the Southern Ocean. Six months, 12 months, then 18 months passed without any sighting of the ship or its crew. Most people had given up hope of seeing them again, presuming they had been lost in that vast expanse of freezing ocean wilderness to Australia’s south. Then, on 27 July 1865, three of the lost mariners stepped ashore at Invercargill, New Zealand. Their leader was the missing ship’s captain, and he reported that his other two shipmates were still stranded on a remote island to the south. This is their remarkable tale of endurance and survival against the odds.
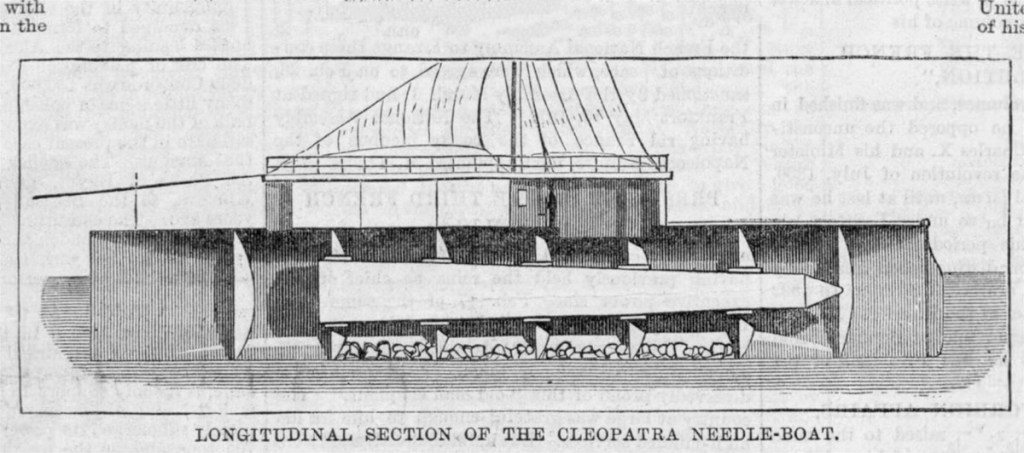
The Grafton was ostensibly on a sealing expedition funded by a consortium of Sydney businessmen. But it also had a more secretive mission to investigate if tin could be found on Campbell Island. The Grafton was to visit the isolated scrap of land some 650 km south of New Zealand and determine if the rumoured tin was there in mineable quantity. An experienced master mariner named Thomas Musgrave was appointed captain of the Grafton, and one of the business partners, Francois Raynal, served as his first mate. Two seamen and a cook rounded out the five-mancrew.
The weather was atrocious for most of the voyage south through the roaring forties and then into the furious fifties. During one particularly heavy gale, the Grafton was laid over on her side by the force of the wind. But after three weeks of hard sailing, they finally reached Campbell Island, at latitude 52.6°S.
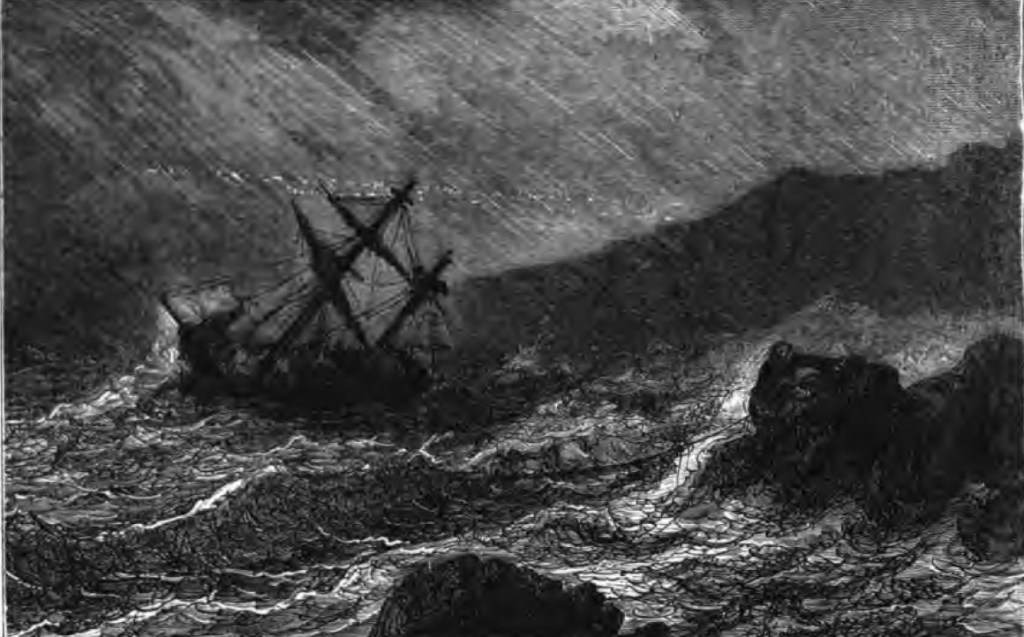
Prospecting for tin came to nothing, and there were few seals to be had. After a month, they had little to show for their time there. They had been gone for almost two months and had consumed nearly half of the four months’ worth of rations they had left with. Captain Musgrave decided it was time to start heading for home. No one disagreed. They departed Campbell Island on 27 December 1863 with the wind blowing hard from the northwest. As they approached the Auckland Islands, Musgrave found that he could not sail past them without getting dangerously close to land. He decided the safest course of action would be to find shelter in one of the inlets and wait for the wind to shift. They dropped anchor in what they would later learn was Carnley Harbour on 31 December. But soon after arriving, their haven turned out to be anything but when it was lashed by a powerful storm. On the night of January 2, the wind shifted and blew at hurricane strength, as the seas foamed and grew mountainous around them.

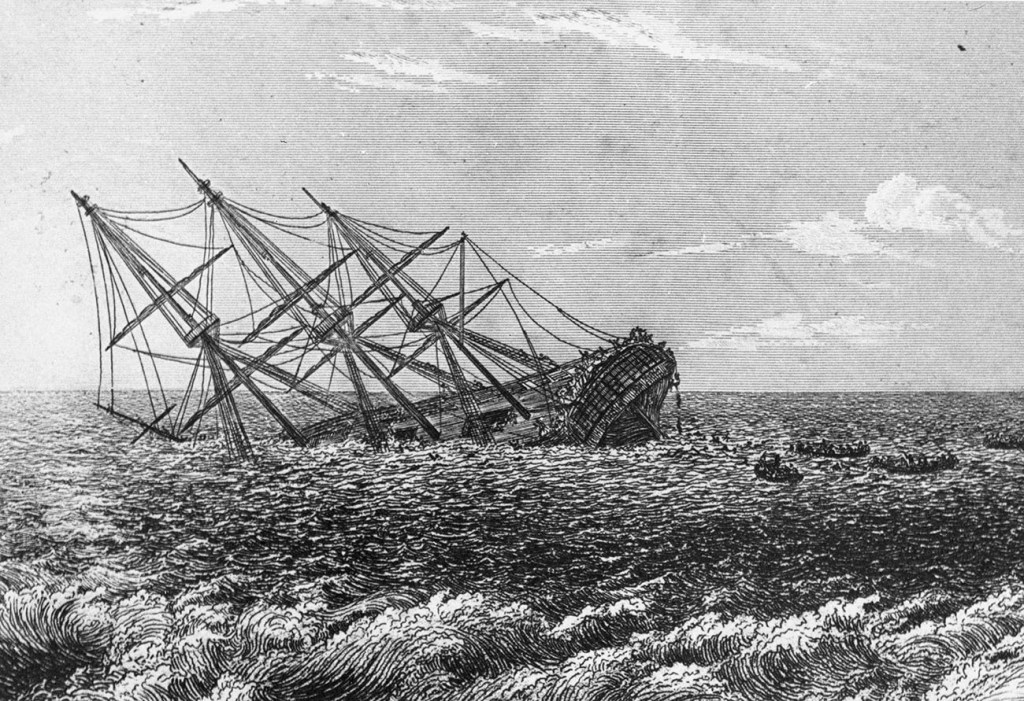
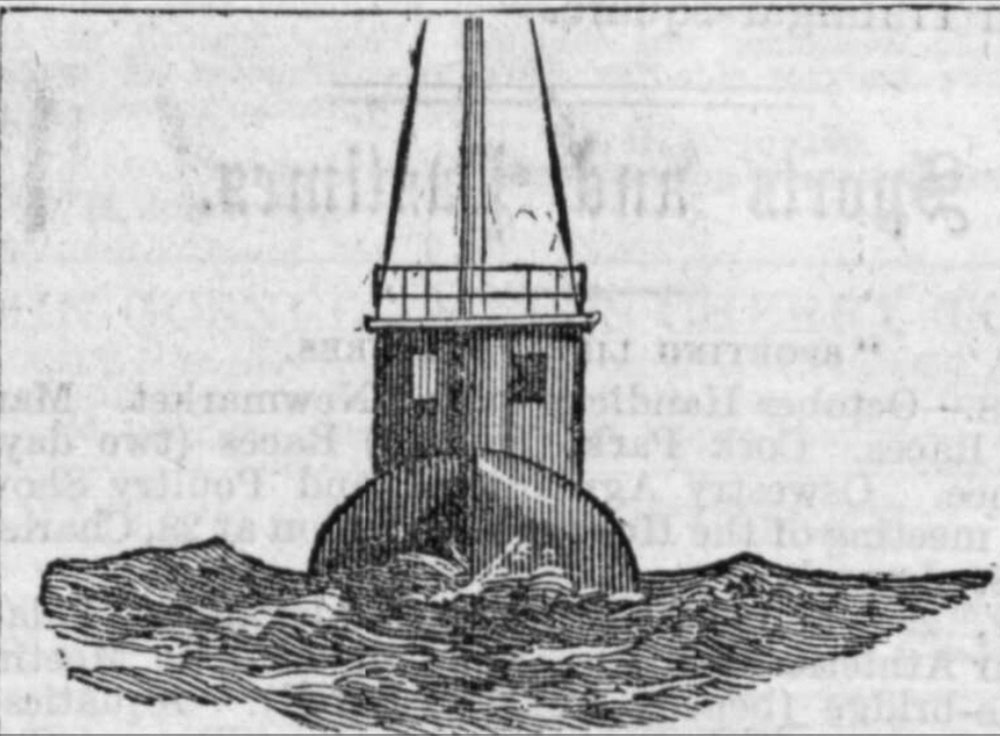
For a time, the Grafton rode out the maelstrom. Then one anchor chain snapped, and the second anchor began to drag. At midnight, the schooner was driven up onto a rocky beach. “Within fifteen minutes, she was nearly full of water, with heavy sea breaking over her,” Musgrave later wrote of the ordeal.
The crew gathered provisions and warm clothing and piled it all on deck. Then everyone found shelter where they could, and waited for daylight as the storm raged around them. Francois Raynal had fallen ill sometime earlier, but his shipmates looked out for him during that bleak night. In the morning, they climbed into their small dinghy, which was already filled with supplies. Captain Musgrave tied a rope to the Grafton and slowly let it run out as the overloaded dinghy was pushed towards land. When they were close to the beach, one of the seamen, Alexander McLaren, jumped into the surf holding a rope tied off to the boat’s bow. He waded ashore and then wrapped the rope around a tree. As Musgrave let his line out, McLaren pulled his in, and the boat made it through the surf to land safely on the beach. It was that level of simple cooperating that would stand them in good stead during the months that followed.

The castaways spent that night sleeping on the cold, wet ground, but were no doubt grateful that they had made it off the wrecked schooner alive. As for the Grafton, she was pounded to pieces, with no prospect of being repaired and refloated. After the weather had cleared sufficiently, they returned to the wreck. Their priority was to salvage the sails and timber spars, enough to build a small hut so they had shelter from the harsh elements. Despite being marooned on a remote island, Captain Musgrave and the others believed it would only be a matter of time before a ship passed by and they would be rescued.
But as the months rolled by, their hopes of being found ebbed away and finally vanished completely. The small amount of water-damaged sea biscuit and salted pork they had saved from the schooner had run out long ago. Then, for the next 18 months, they survived on a diet comprised mainly of seal meat. Raynal, who over time recovered his strength, was able to brew a passable ale, which he believed would help keep scurvy at bay.

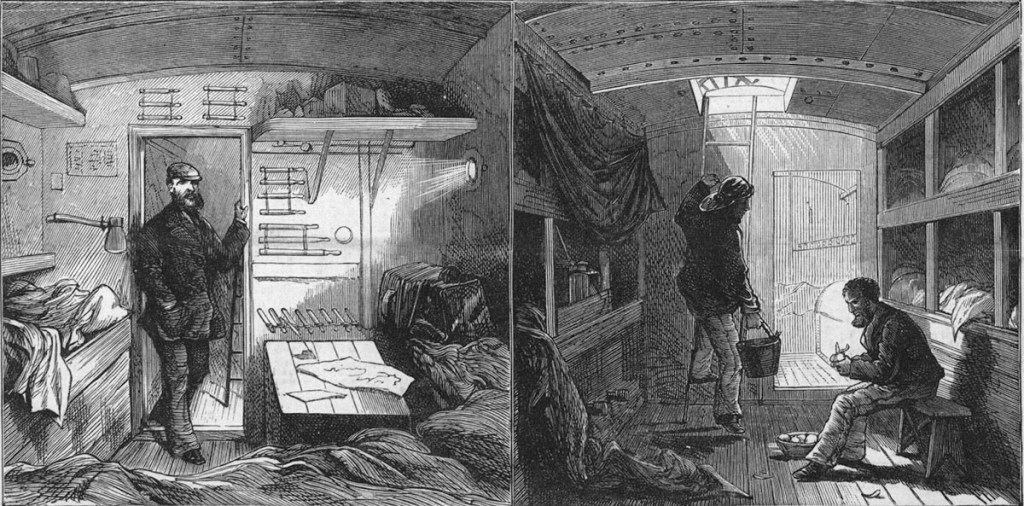
The castaways strengthened their hut, built a fireplace and chimney, and furnished it with stretchers, a table, and stools. Lanterns fuelled with seal oil gave the interior a warm, comforting glow. When not out procuring food and water or keeping vigil for any ship that might pass by, Musgrave taught his illiterate sailors how to read. The castaways also passed their time playing chess and dominoes with bone pieces Raynal had carved by hand. They also played cards for a time, but Raynal eventually destroyed the pack when it became evident that Musgrave was a poor loser. As their clothes deteriorated, they were replaced with seal-skin garments. In short, they made their home as comfortable as circumstances would allow.
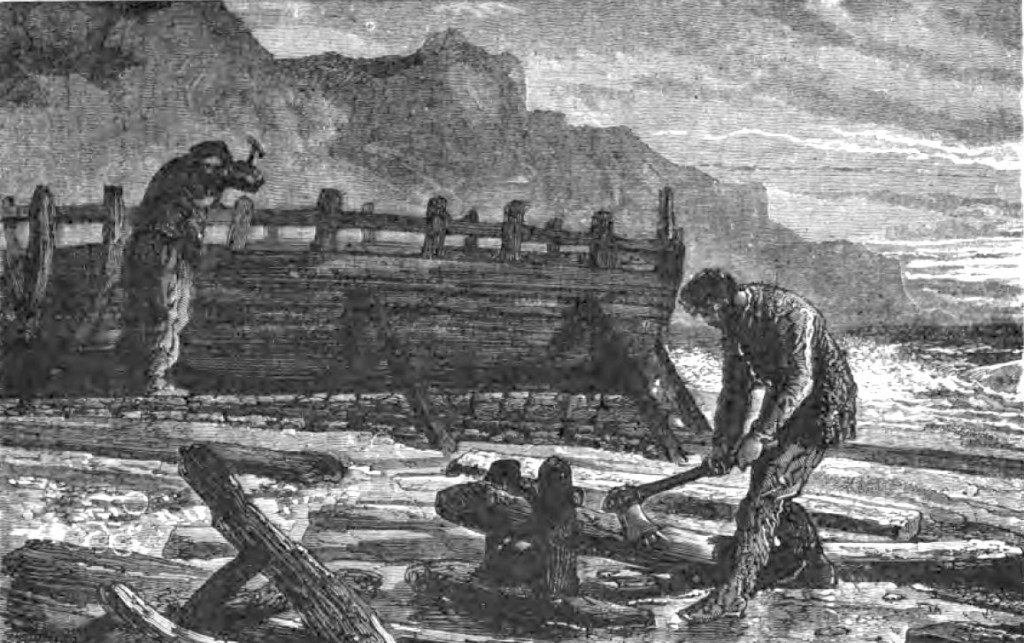
After spending a second summer on Auckland Island without ever seeing another soul, the castaways decided to wait no longer to be rescued. It was now around March 1865, and another freezing winter was fast approaching. They considered constructing a new vessel from the Grafton’s wreckage, and they even built a forge to assist them. However, the venture was abandoned for want of an auger to drill holes through the timbers. Instead, they turned to making their twelve-foot (3.6 metre) dinghy more seaworthy. They extended its length by 76 cm, built up the sides and furnished it with a deck. When it was finished, Musgrave found it was so unstable that it would have been too dangerous to call all five of them to safety.
On 19 July 1865, Captain Musgrave set off in the dinghy with only two men, Francois Raynal and Alexander McLaren, promising to return quickly to rescue George Harris and the cook, Henry Brown. After five days of hard sailing through foul weather, they reached Stewart Island, 450 kilometres to their north. They put into Port Adventure and fell in with the Flying Scud. The next morning, Musgrave and his mates were taken the final 50 km across Foveaux Strait to Invercargill on New Zealand’s South Island.
After sufficient funds were raised by the good folk of Invercargill, a ship was chartered to take Captain Musgrave back to Auckland Island to retrieve his two shipmates. The Grafton’s story is a testament to what can be accomplished when a group of resourceful individuals, aided by a measure of good fortune, work together for their common good.
As chance would have it, the survivors of another ship, the Invercauld, had washed up on the northern end of Auckland Island around the same time. Unfortunately, theirs is a far different story and is the subject of a future blog.

© Copyright C.J. Ison / Tales from the Quarterdeck, 2024.
Please enter your email address below to be notified of future blogs.