Most Queensland school children are taught that the first non-Aboriginal people to settle in their state were convicts and their gaolers who arrived in September 1824. But actually the first white-skinned people to live in what would become Queensland were three castaway ex-convicts who came ashore 18 months earlier.
In 1823 Governor Brisbane sent the NSW Surveyor General, John Oxley, to determine if Moreton Bay, 800 kilometres north of Sydney, would make a suitable penal settlement to house the colony’s worst and most incorrigible convicts.
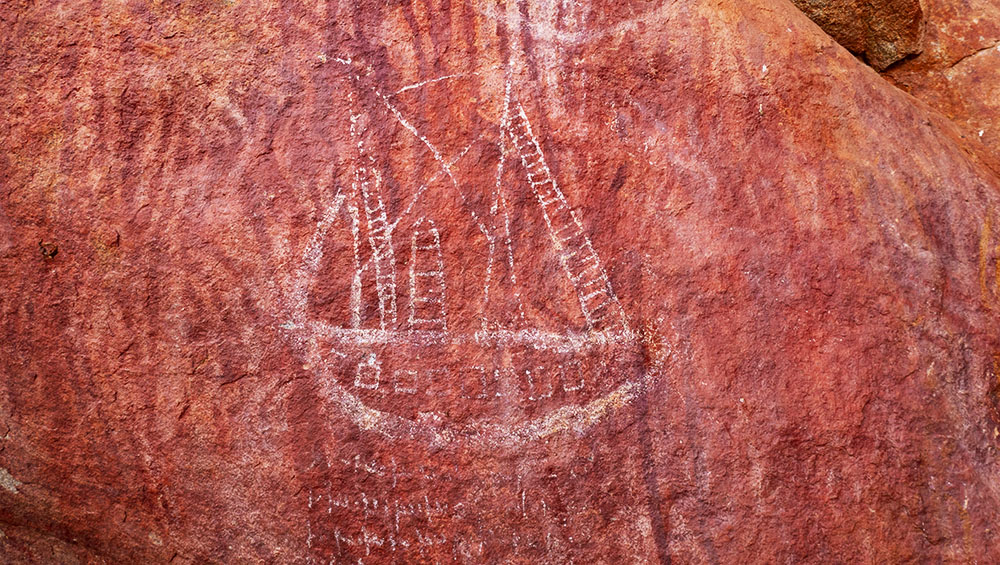
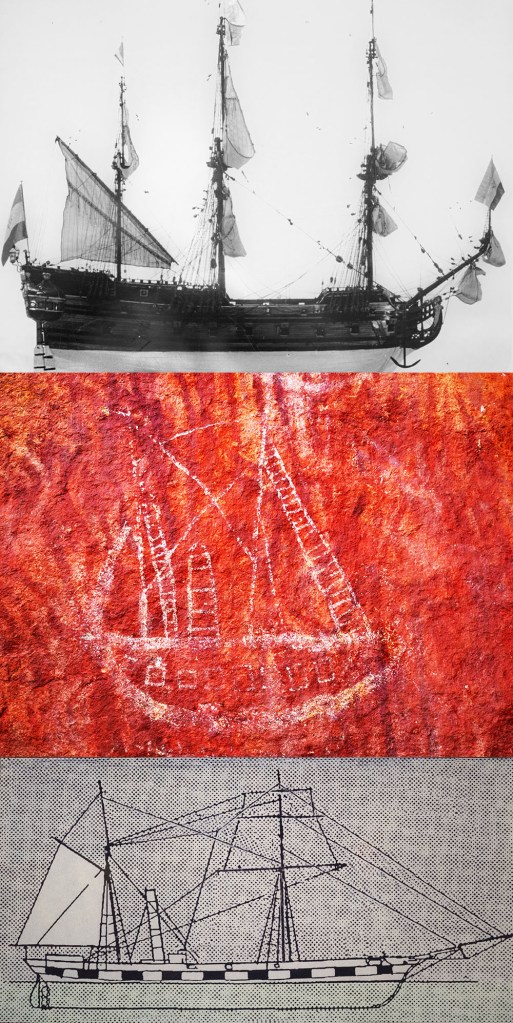
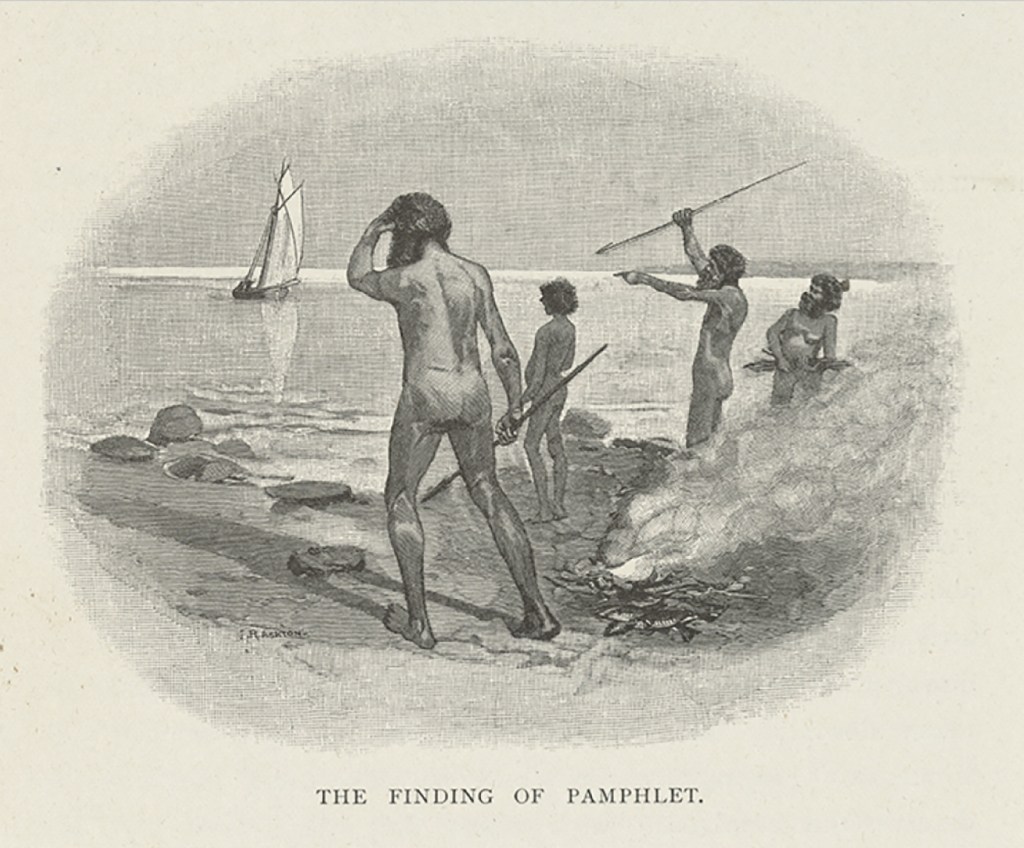
On 29 November the small government cutter Mermaid, carrying Oxley and his party, dropped anchor in Pumicestone Passage separating Bribie Island from the mainland. To their astonishment, among the Aborigines they could see on shore stood a taller, lighter-skinned man excitedly haling them. His name was Thomas Pamphlett and he and two mates had been living with the local Aboriginal peoples for the past seven months.
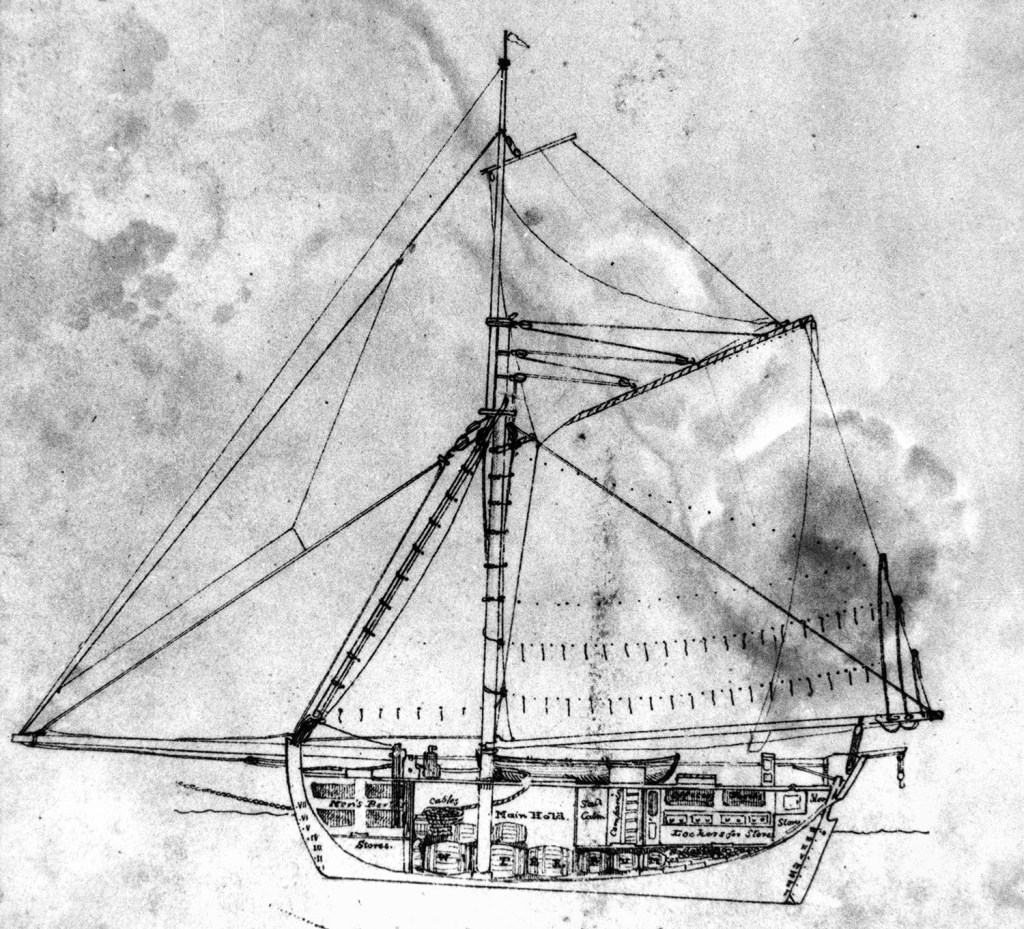
This is their story. On 21 March 1823 four ticket-of-leave men, Thomas Pamphlett, John Finnegan, Richard Parsons and John Thompson, sailed from Sydney in a 10-metre-long open boat bound south to the Illawarra to gather cedar logs for sale in Sydney.
However, they were caught in a ferocious storm which battered the craft mercilessly for five days. They were driven far from the coast under a bare mast and when the storm finally cleared five days later they had no idea where they were. They thought they had been blown south towards Van Diemen’s Land but in fact they had been taken north. So, when they could finally hoist a sail they bore north in search of Sydney.
Their water had run out days earlier and they only had rum to quench their thirst. All four were in a bad way but John Thompson became delirious and died from thirst. They kept him in the boat for several days until the smell drove them to bury him at sea.

They finally sighted land about three weeks after setting off from Sydney. This turned out to be Moreton Island though that was not known to them at the time. They could see a freshwater stream flowing across the beach so Pamphlett swam ashore with the water keg in tow. He drank his fill but was too weak to swim back to the boat. The others, crazed with thirst, brought the boat closer to shore but it got caught in the surf and was smashed to pieces.
The three men were alive but stranded. They salvaged some flour, a bucket, an axe, a pair of scissors, the water keg but little else. They soon came across an Aboriginal camp in the sand dunes and were befriended by the people. The three castaways lived with their hosts for a couple of months then they decided to set off north thinking they would eventually reach Sydney.
First they went south to cross over to Stradbroke Island then onto the mainland where they ventured north around Moreton Bay All the time they were accompanied by different bands of Yuggera. Pamphlett and Finnegan decided to stop at Bribie Island on the northern edge of the bay and lived with the Joondoobarrie people until they were found by Oxley and his party. Parsons, still determined to return to Sydney kept heading north and may have gone as far as Harvey Bay before it was made clear to him his presence among the Butchella people was not welcomed.
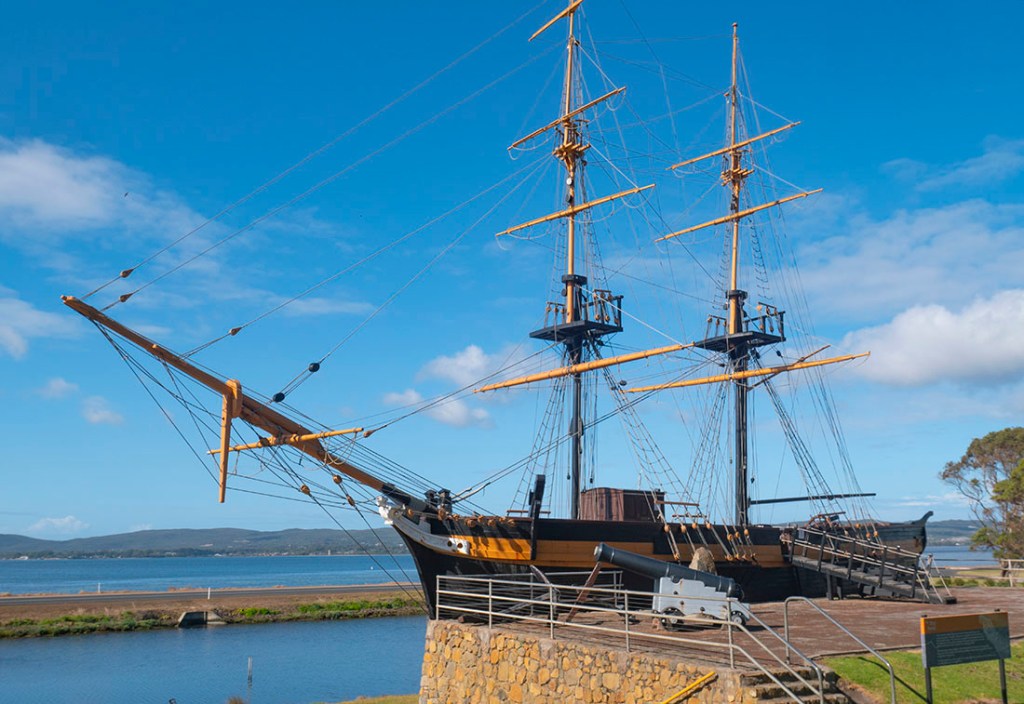
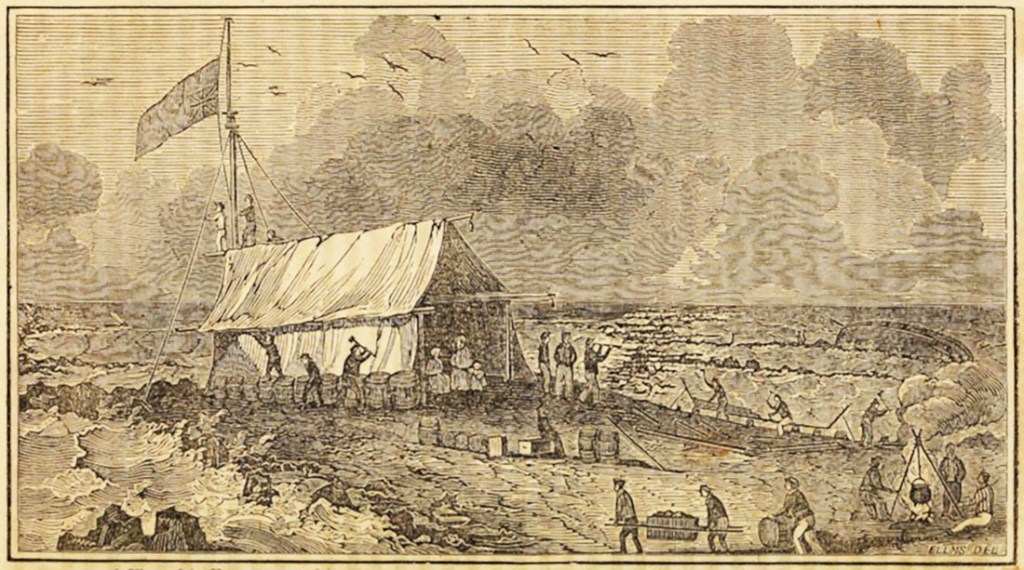
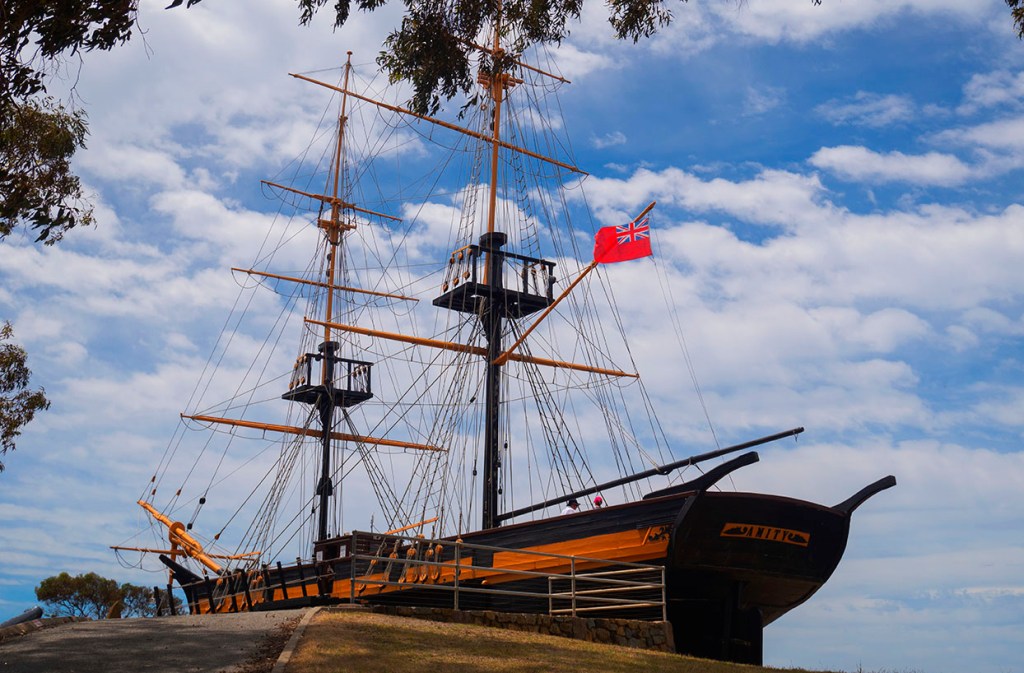
He returned to Bribie Island many months later only to find his comrades had been taken away on the Mermaid. However, the party of explorers left a message in a bottle for Parson should he ever pass that way again. Unfortunately, he was illiterate and could not read the message that had been left for him, but he remained in that area in the hope that another ship might pass that way. He was in luck. The brig Amity sailed into Moreton Bay in September the following year with 30 convicts and their guards to establish the first settlement at Redcliffe. When they came ashore Parsons was standing on the beach waiting for them.
Richard Parsons was returned to Sydney and found work as a bullock driver. John Finnegan later returned to Moreton Bay and took up a post piloting ships in and out of the bay. Thomas Pamphlett also returned to Moreton Bay, but it was not of his own choosing. He stole two bags of flour in 1826 and was sentenced to spend seven years toiling at Moreton Bay penal settlement.

For more interesting stories from Australia’s maritime past check out A Treacherous Coast: Ten Tales of Shipwreck and Survival from Queensland Waters, available now as a Kindle eBook or paperback through Amazon.
(c) C. J. Ison / Tales from the Quarterdeck, 2021.
To be notified of future blog posts, please enter your email address below.