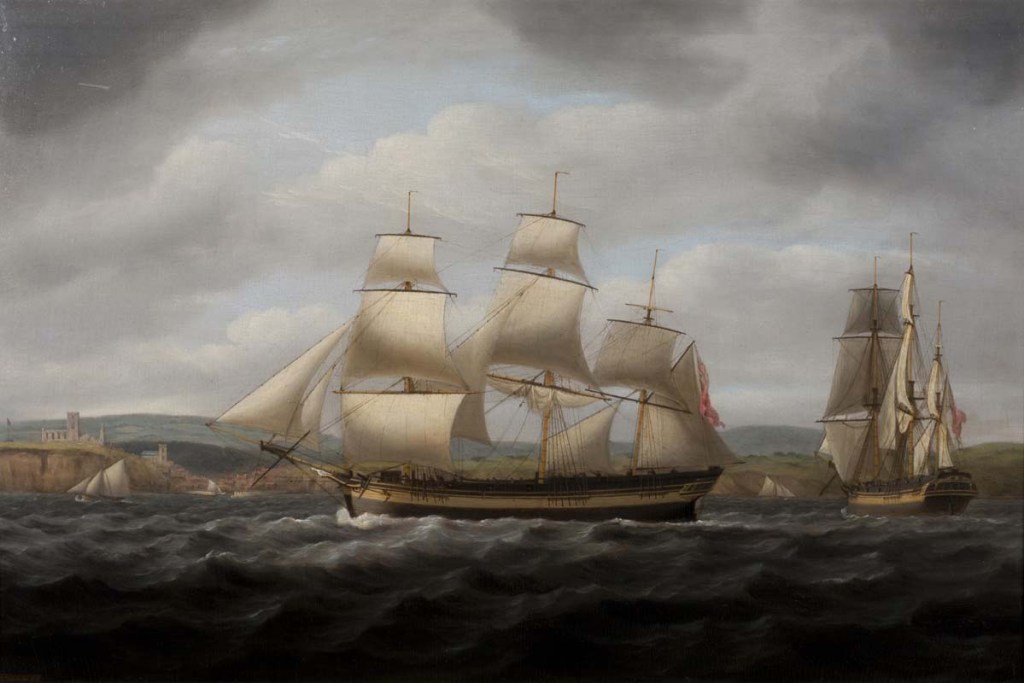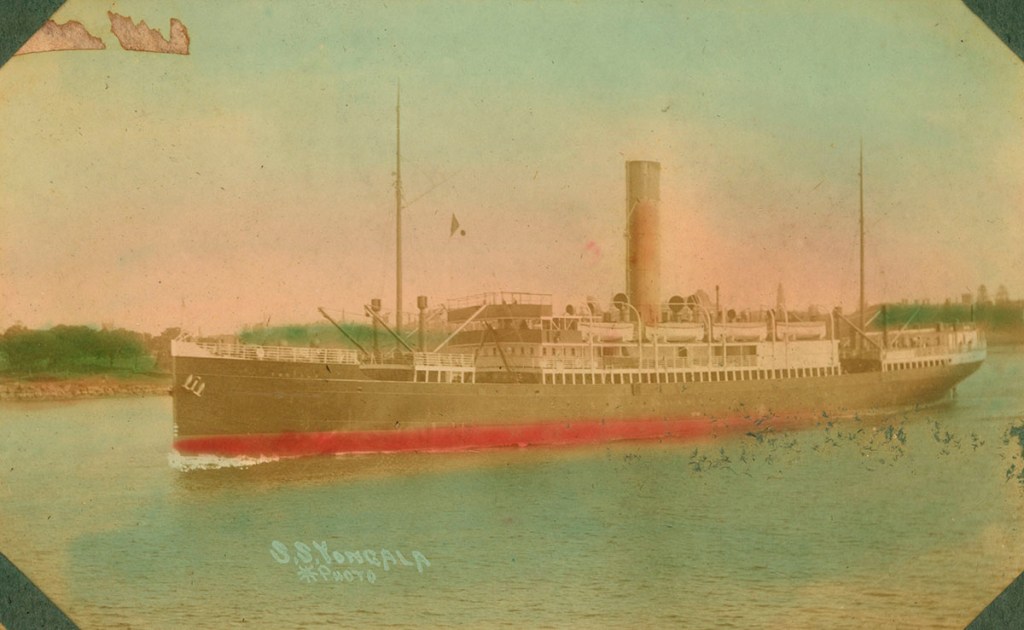
In March 1911 the SS Yongala sank during a powerful cyclone with the loss of 122 lives making it one of Queensland’s worst maritime disasters. Despite efforts to locate the wreck, the ship’s final resting place would remain a mystery for almost half a century.
The Yongala departed Brisbane on 21 March bound for Townsville. On 23 March she stopped briefly at Mackay to disembark passengers but by now the weather was rapidly deteriorating. When she got under way again, she unwittingly carried 50 passengers and 72 crew towards a powerful storm brewing somewhere to the north.
Later the same day the Dent Island lighthouse keeper noted the Yongala passing through the Whitsunday Passage. She soon faded from sight, enveloped by a curtain of rain and sea mist, as she ploughed towards Townsville.
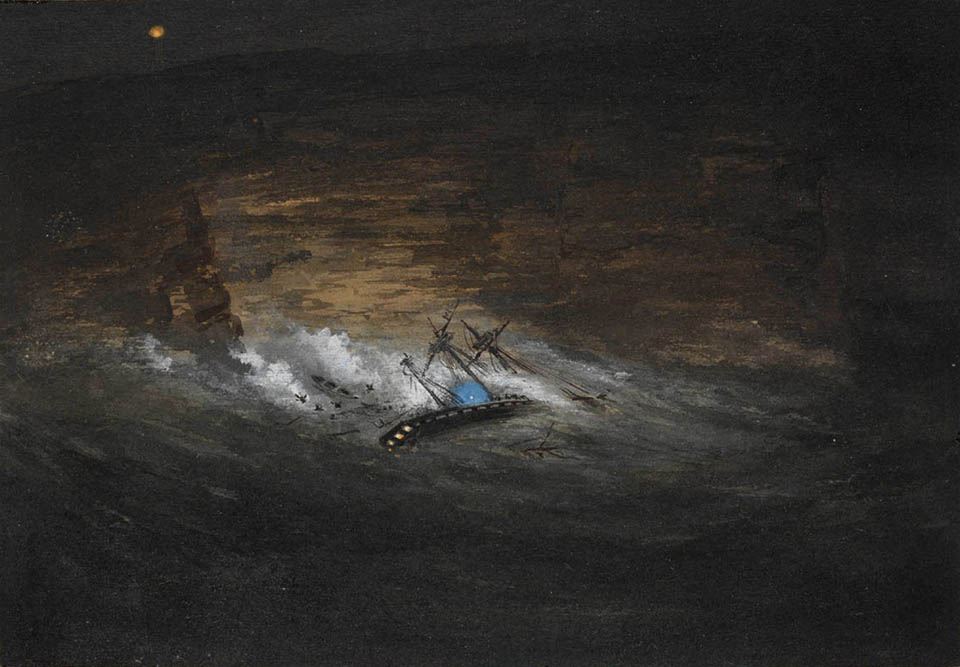
When the Yongala failed to arrive as scheduled there was no immediate concern. It was assumed the captain had sought shelter to escape the cyclone and the ship would soon make its appearance. But then reports reached Townsville of wreckage washed ashore on Palm and Hinchinbrook Islands 50 and 100 kilometres to the north.

It was clear the debris, including hatch covers, parts of lifeboats, ornate cabin fittings and other miscellanea, had come from the Yongala. It spoke of a terrible tragedy having befallen the passenger steamer and all those onboard. Oddly, not a single body was ever recovered.
The waters and coastline between Townsville and the Whitsunday’s were scoured in hopes of finding survivors or the wreck but nothing but more debris was found. A Marine Board Inquiry investigated the loss of the ship as best it could under the circumstances. With no eyewitnesses to what happened and no wreck to inspect, they had little to go on. The Inquiry concluded that rumours about the ship’s stability were groundless and it found no fault with the ship’s construction or the competency of its captain. A £1,000 reward was even offered for anyone who could pinpoint the wreck.
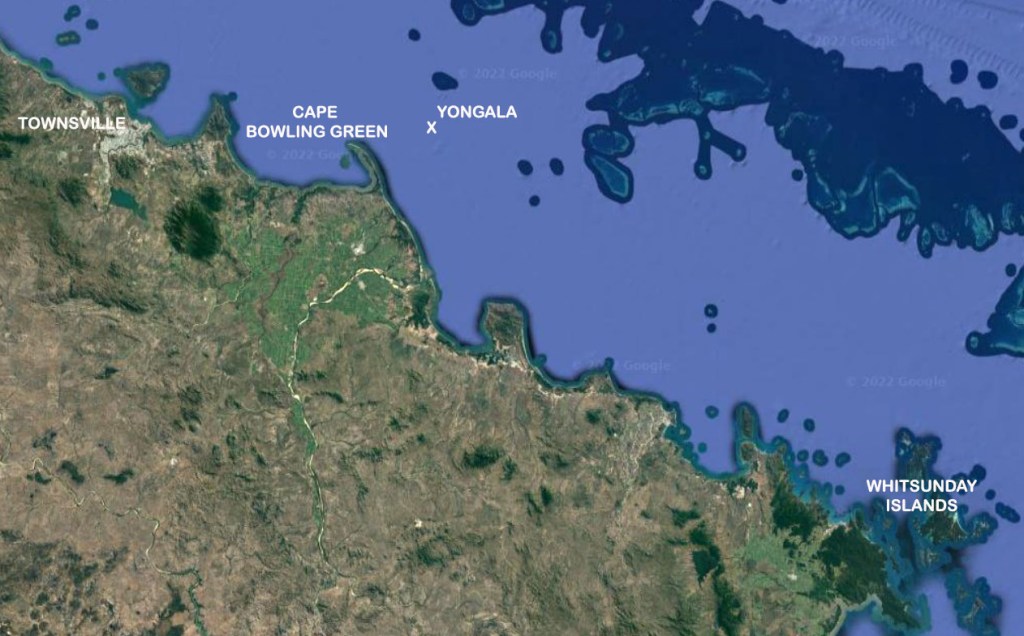
In October 1911 Dr Cassidy believed he and his crew on the salvage schooner Norna had located the Yongala in deep water about 20kms off Cape Bowling Green. They had discovered traces of oil bubbling up from the depths and believed that marked the resting place of the lost ship. However, owing to the depth of the water and strong currents, they were unable to put a diver down to confirm the find or collect the reward.
For decades mystery surrounded the disappearance of the ship. There were even far-fetched sightings of a “ghost ship” steaming through North Queensland waters periodically reported in the tabloid press.
Then in 1947, the navy survey ship HMAS Lachlan located the wreck using “anti-submarine instruments,” more commonly known today as sonar. Three years earlier a minesweeper had snagged something they thought to be a reef rising steeply from the seabed in the middle of the regular shipping lane south of Townsville. They had marked the spot on their chart as an unknown obstruction and reported it to Naval Headquarters. They were about 20kms east of Cape Bowling Green where the Norna had found the oil slick all those years ago.
After HMAS Lachlan made several passes over the “obstruction” the sonar operators were convinced they had found the remains of a “fair-sized steamer.” It was thought to be the Yongala for it was the only such vessel to have been lost in the vicinity.

However, it would be another 11 years before anyone visually confirmed that what the Lachlan had found was in fact a shipwreck. In 1958 a diver named George Konrat finally descended into the deep and found the ship sitting on its keel in 30 metres of water with a distinct list to starboard. He recovered a Chubb safe with part of the serial number still evident which would later prove to have been installed in the Yongala during her construction.
Konrat speculated that the steamer had struck another vessel during the storm and sank for he also saw the remains of an old sailing ship nearby. However, with the passage of so many years and no survivors to recount what happened, the actual reason why the ship foundered during the cyclone will likely never be known.

Today, some artifacts collected from the wreck and other memorabilia can be found in the Townsville Maritime Museum which is well worth a visit. The Yongala, itself, is a popular dive site.

© Copyright C.J. Ison / Tales from the Quarterdeck, 2022.
To be notified of future blogs, please enter your email address below.