In May 1797, a fishing party returned to Sydney with more than their daily catch. They had found three shipwreck survivors south of Botany Bay who told them that the merchant ship Sydney Cove had been wrecked somewhere far to the south. The survivors had trekked over 600 km along New South Wales’s rugged southern coast seeking help for their captain and shipmates who were still stranded with the ship.
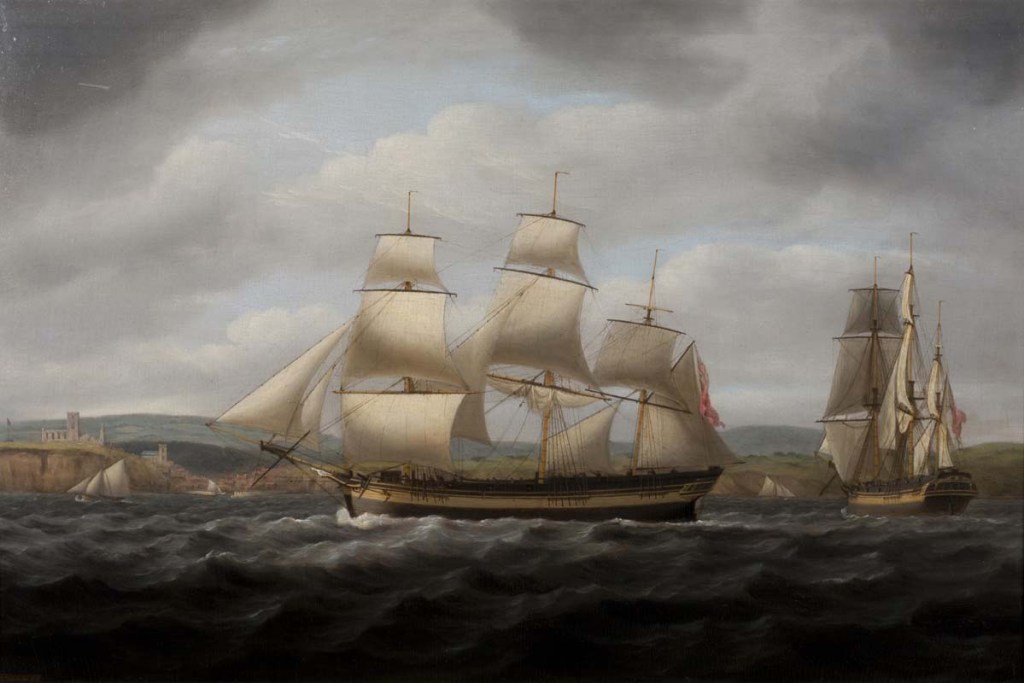
On 10 November 1796, the 250-ton Sydney Cove had sailed from Calcutta with her hold full of Indian goods and produce the owners hoped to sell in Sydney. The crew, numbering close to fifty men, was a mix of Indian and European seamen under the command of Captain Guy Hamilton. About a month out, as she cleaved her way south through the Indian Ocean, the Sydney Cove was caught in a terrible storm and began taking on water. Initially, the leak was easily managed with the pumps, so Hamilton continued on his course to round Van Diemen’s Land (Tasmania) before heading north again and on up the New South Wales coast to Sydney.
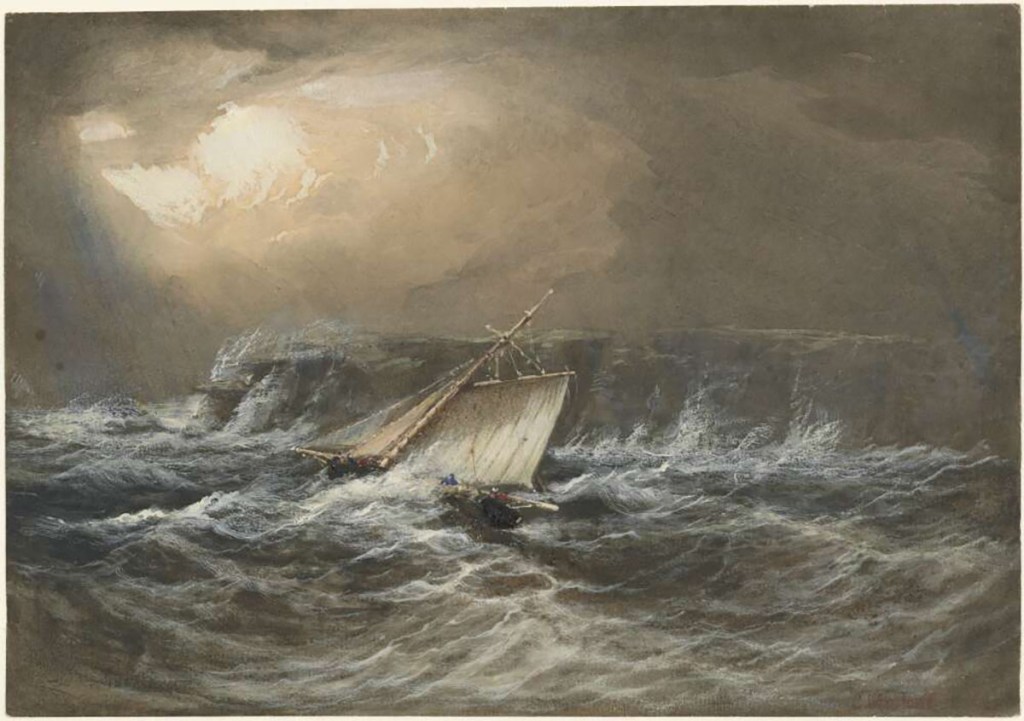
By January, as they sailed into the latitudes south of Tasmania, the ship was caught in the grip of another powerful storm. The leak began to worsen, and soon the pumps had to operate continuously to prevent the ship from sinking.
As they headed up Tasmania’s east coast, they encountered yet more wild weather and heavy seas. By now, water was pouring into the hold faster than the men at the pumps could clear it. The barque was slowly filling with water. Captain Hamilton ordered all non-essential gear to be jettisoned to lighten the load, but that only put off the inevitable.
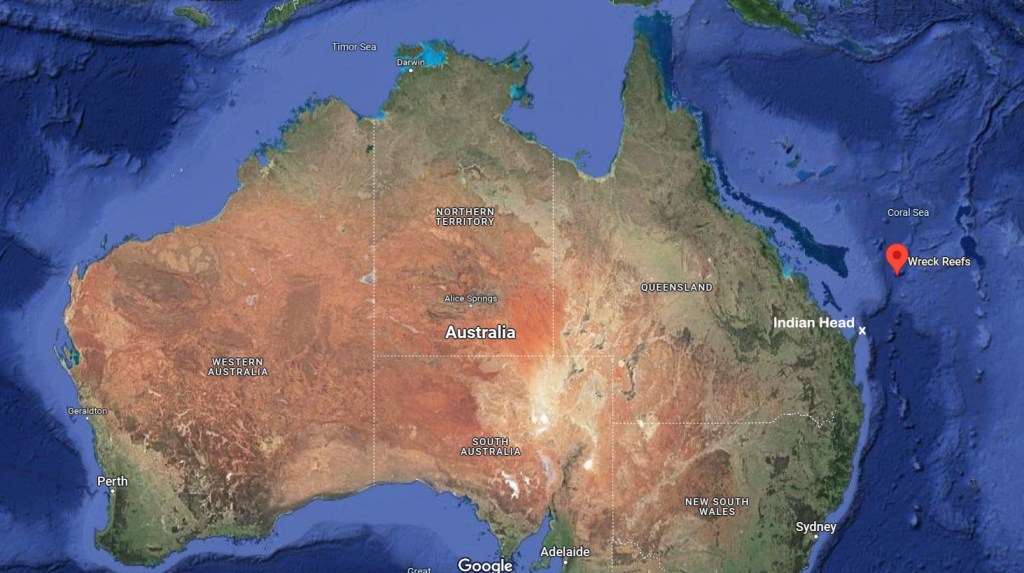
By 9 February, the water in the hold was lapping at the lower-deck hatches. Captain Hamilton realised he had no choice but to beach his ship to save her from foundering in deep water. If that were to happen, he would not only lose his ship and its precious cargo but also much of his crew, for they would not all fit on the Sydney Cove’s two boats. He found a sandy beach on what is today called Preservation Island in the Furneaux group and ran her ashore. Although Hamilton had saved the ship from sinking, his troubles were far from over.
Exhausted from constant bailing and battling through rough seas, Hamilton got the crew unloading much of the ship’s stores and cargo onto Preservation Island. But then the weary men discovered the casks of rum stacked among the cargo. Hamilton had to have the liquor taken to a neighbouring island to prevent his men from pillaging it. Captain Hamilton then organised his crew for a prolonged stay, for they had come ashore at a very remote part of the world. The crew erected shelters using sails and spars to give them refuge from the elements. Hamilton rationed everyone to one cup of rice per day, and though they sank a well and found water, it proved so brackish it was barely drinkable. However, their immediate needs were met. Then he turned his mind to their rescue.
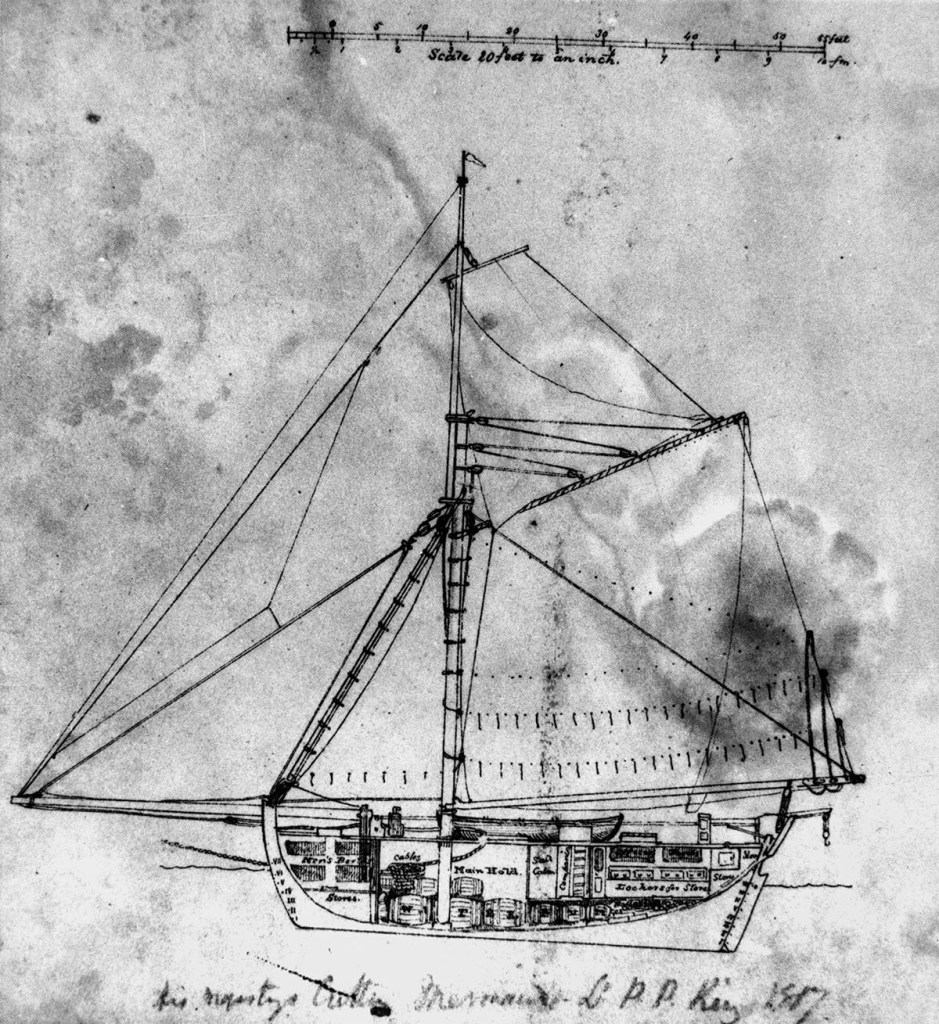
If they were ever to leave Preservation Island, they would have to send for help. It was agreed that the First Mate, Hugh Thomson, with 17 men, would sail north, keeping close to the New South Wales coast until they reached Sydney. Captain Hamilton and the remaining crew, numbering about 30, would remain with the ship.
Several days after setting off, the longboat was driven ashore on Ninety-Mile Beach and smashed to pieces. Thomson and his men escaped with their lives, but they had little else. With no way to return to the Sydney Cove, their only chance of survival lay in continuing to Sydney, 600 km away, on foot.
Thomson hugged the coast, knowing that as long as they kept the sea on their right, they would eventually arrive at the young settlement. However, that meant crossing many wide river mouths and scrambling over numerous rocky promontories along the way. The journey was gruelling and took a heavy toll on the men. Encounters with the indigenous peoples varied in nature. Some provided the castaways with food and water, while others were less sympathetic but allowed them to pass unhindered. Yet others set upon the interlopers on their land. Their numbers dwindled as some drowned crossing rivers or otherwise fell victim to the harsh and unforgiving terrain.

By late April, there were only three men left. However, they had managed to reach within 20 km of Botany Bay when fishermen finally discovered them. The fishermen took the survivors the rest of the way to Sydney in their boat. On learning of the loss of the Sydney Cove, Governor Hunter ordered vessels to be sent to rescue the remaining sailors and salvage the ship’s cargo.
After being marooned for some four months, Captain Hamilton and the rest of the crew were in dire straits. Winter was fast approaching. Successive storms had mercilessly battered their shelters, and now they had gaping tears, offering the men little protection from the bitter weather. While they had been able to supplement their rice ration with seabirds nesting on the island, their diet still barely sustained life. To add to their sense of abandonment, they had seen several ships pass in the distance but had been unable to alert any of them to their presence.
Then, on 10 June 1798, salvation arrived when the sloop Eliza sailed into view and dropped anchor a short distance off the beach. It was later joined by the schooner Francis, under the command of Lt Matthew Flinders. Both ships had left Sydney 10 days earlier under Governor Hunter’s orders. The crews loaded as much of the salvaged cargo as they dared, leaving five volunteers behind to watch over the remaining goods until it could be collected at a later date. Captain Hamilton and his men boarded the Francis and Eliza, and they headed for Sydney.
The weather was no less kind as the two small ships battled their way home. It took 15 days of hard sailing through storms and high seas for the Francis to reach Port Jackson. The Eliza never made it back to Sydney and was presumed to have sunk in the terrible weather with the loss of her own crew, plus eight shipwreck survivors. In total, about half of the crew of the Sydney Cove lost their lives.

The shipwreck is historically significant for the trek undertaken by Thomson and the others. They were the first Europeans to note an outcrop of coal in the Illawarra, which has defined the region to this day. Also, Captain Hamilton recorded strong south-westerly currents during his time on Preservation Island, suggesting there was a large body of water separating Van Diemen’s Land and the Australian mainland. The existence of the strait would later be confirmed by Matthew Flinders and George Bass and named after the latter.

© Copyright C.J. Ison / Tales from the Quarterdeck, 2023.
To be notified of future blogs, please enter your email address below.